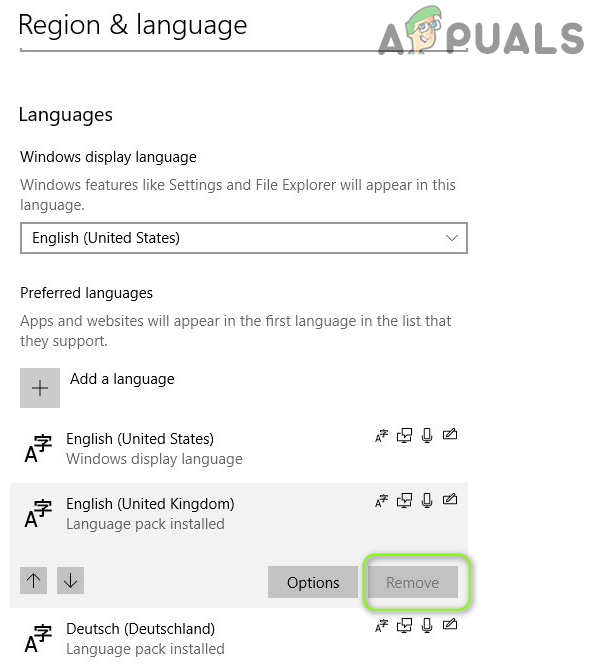
The issue arises when a user fails to remove a language (or the option is greyed out) or the language is automatically re-added to the system (after removal of the language). For some users, a language is shown in the Language bar but not present in the Windows Settings. You can remove languages from Windows 10 by trying the solutions mentioned below, but before that, make sure “Language Preferences” (in Sync Your Settings) is disabled. Also, check if the Windows & drivers of your system are updated. Additionally, check if the dictation feature is not causing the issue. Moreover, check if clean booting your system resolves the issue (Razer’s Synapse Software & Language Indicator applications are reported to cause the issue). Furthermore, check if performing a Disk Cleanup on the system drive sorts out the language issue.
Solution 1: Edit the Language Settings
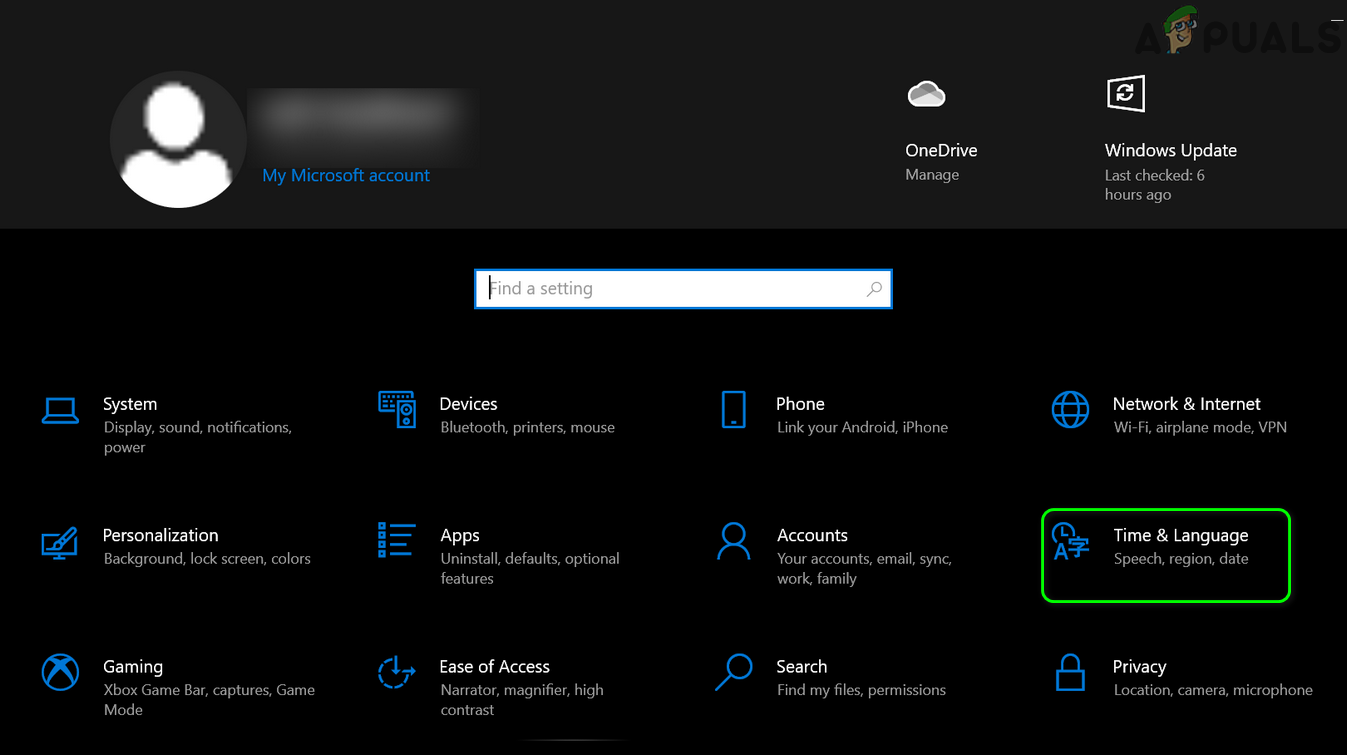
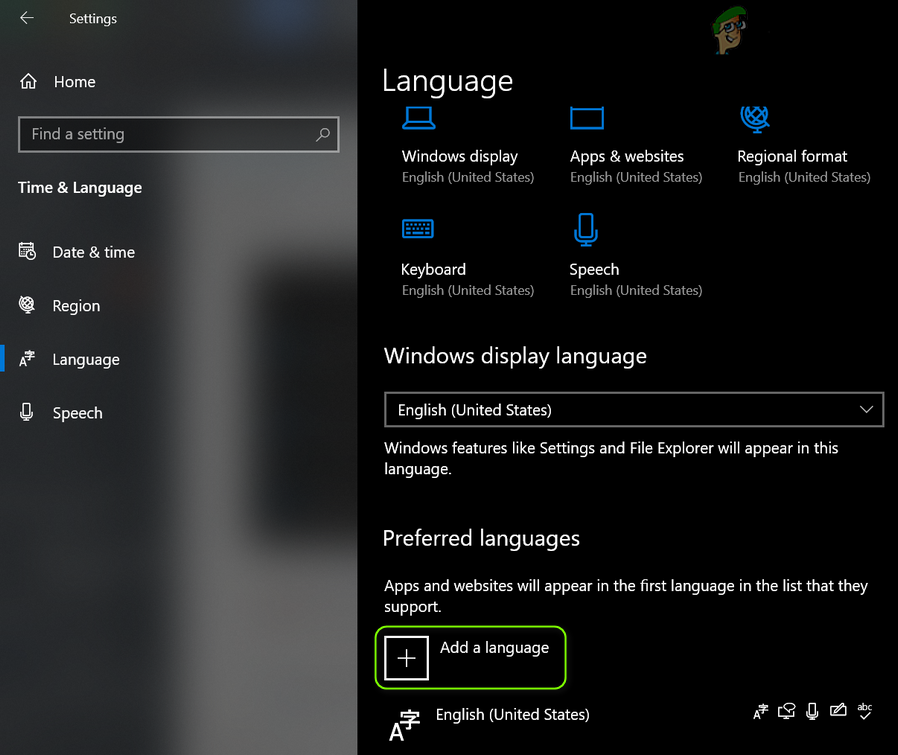
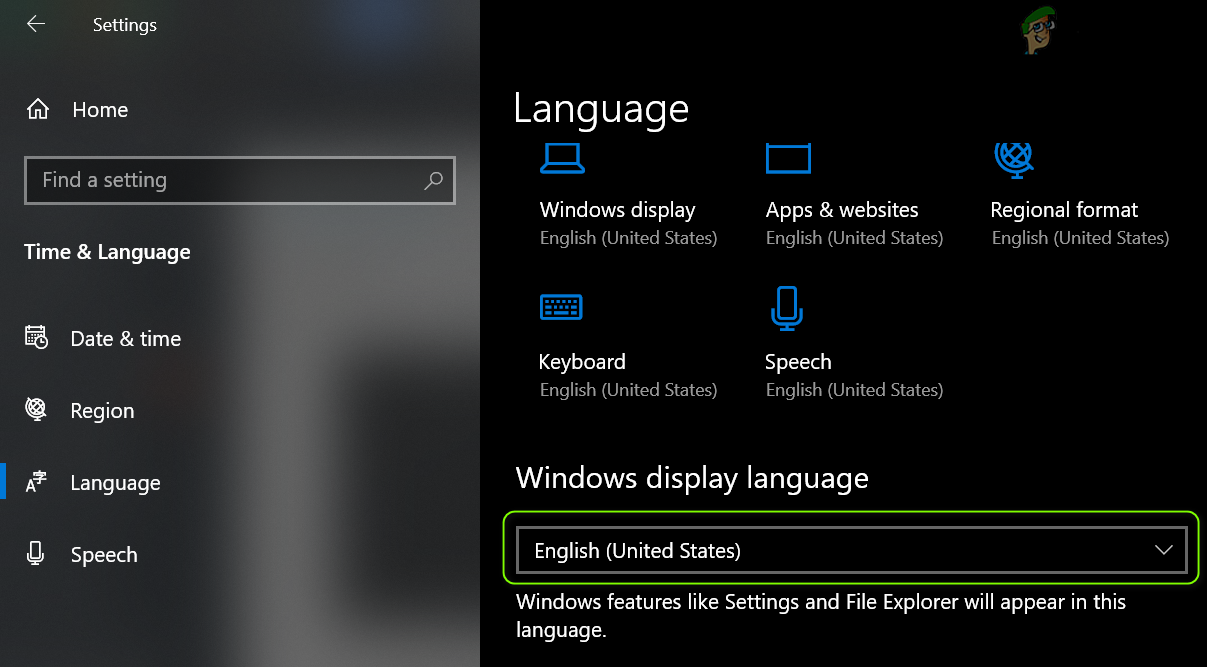
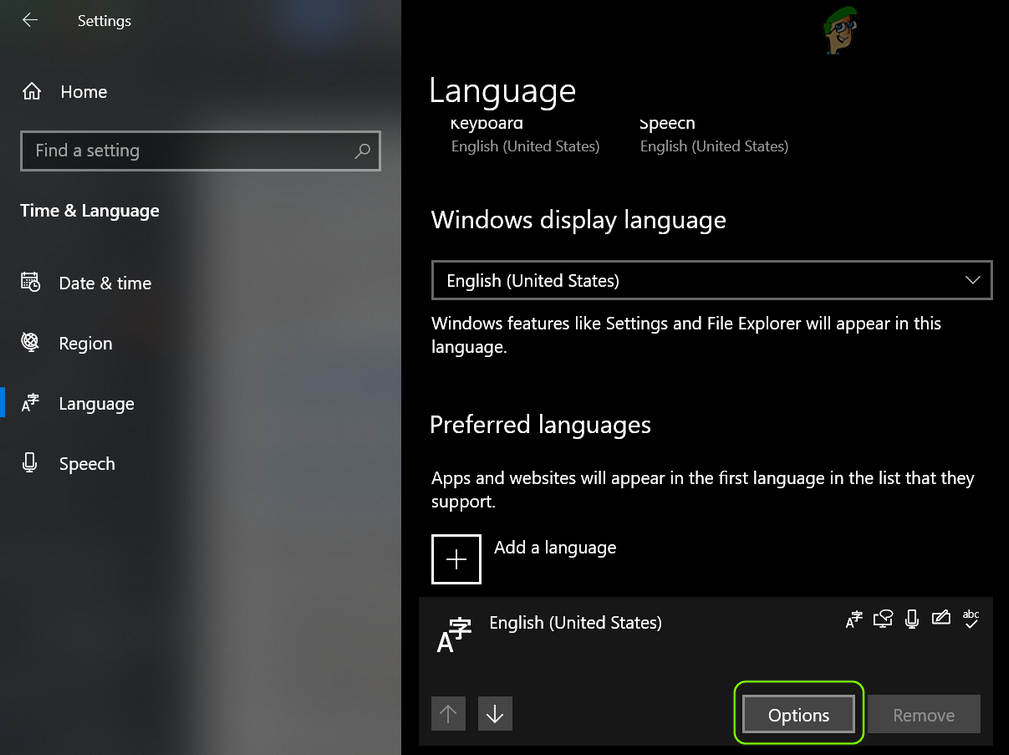
You may fail to remove a language if the language settings of your system are not properly configured. In this case, editing the relevant language settings may solve the problem. Before proceeding, make sure that the language you want to remove & its keyboard layout is not selected in the Language bar.
Change the Display Language
If the issue persists, then check if removing the problematic languages through an office application (e.g., Word) solves the problem.
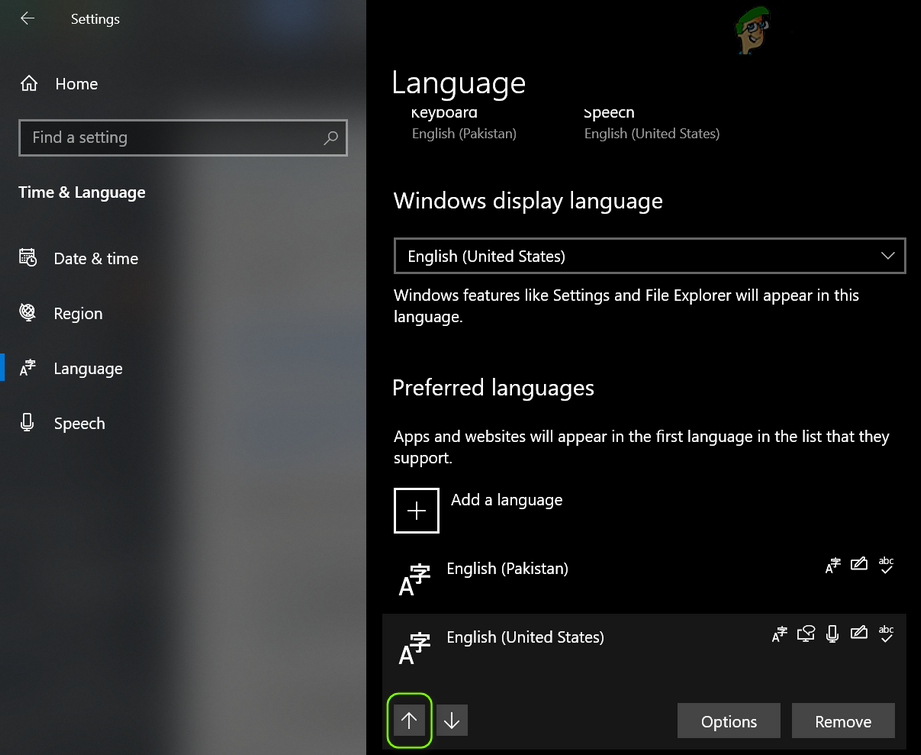
Re-arrange the Languages
Install the Language Pack of the Problematic Language
Solution 2: Change Regional Settings of Your System
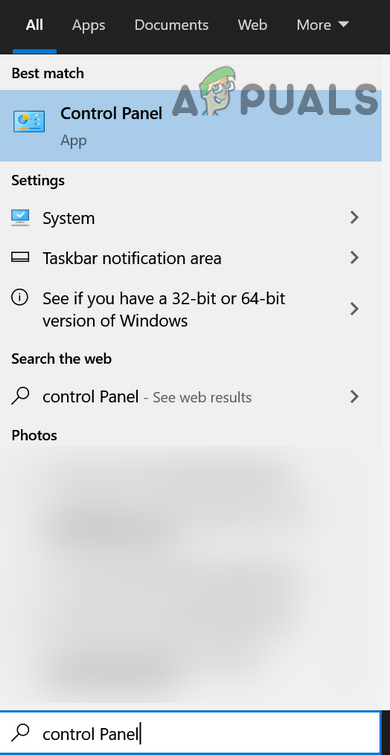
The regional settings of your system may be stopping you from removing the problematic language (or causing its reappearance). In this context, editing the regional settings of your system may solve the problem. Before proceeding, make sure the regional settings of your system match your geographical location i.e., if you are in Canada, your region is set to Canada.
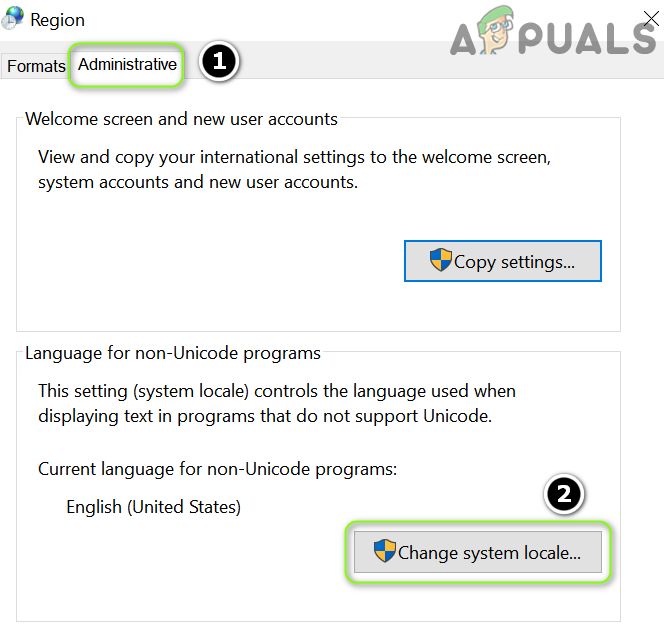
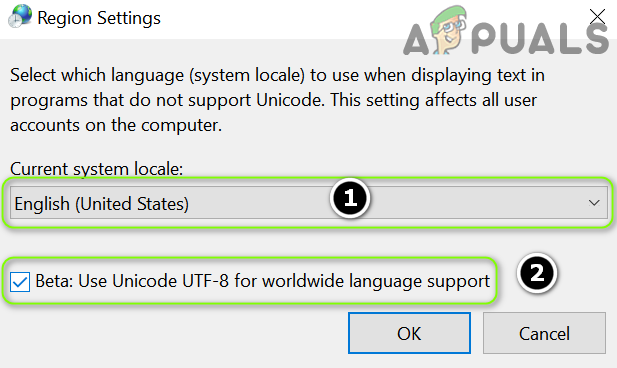
Change System Locale
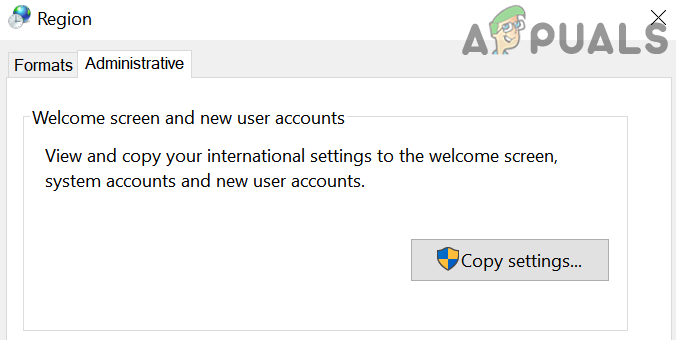
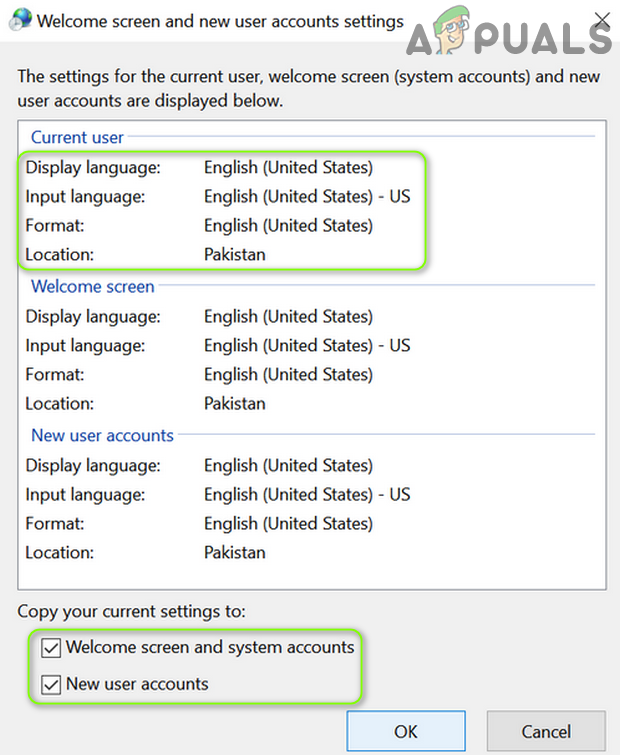
Copy Settings to Welcome Screen
Solution 3: Use the PowerShell Commands
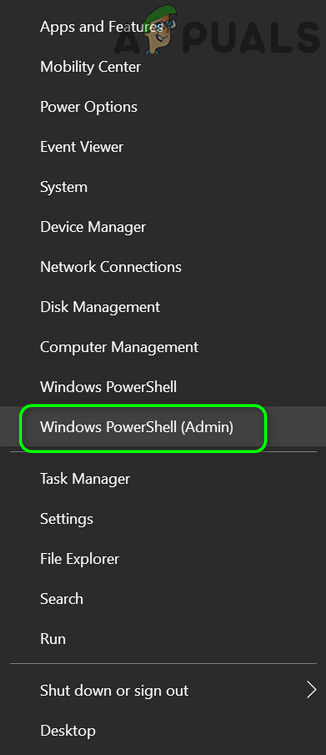
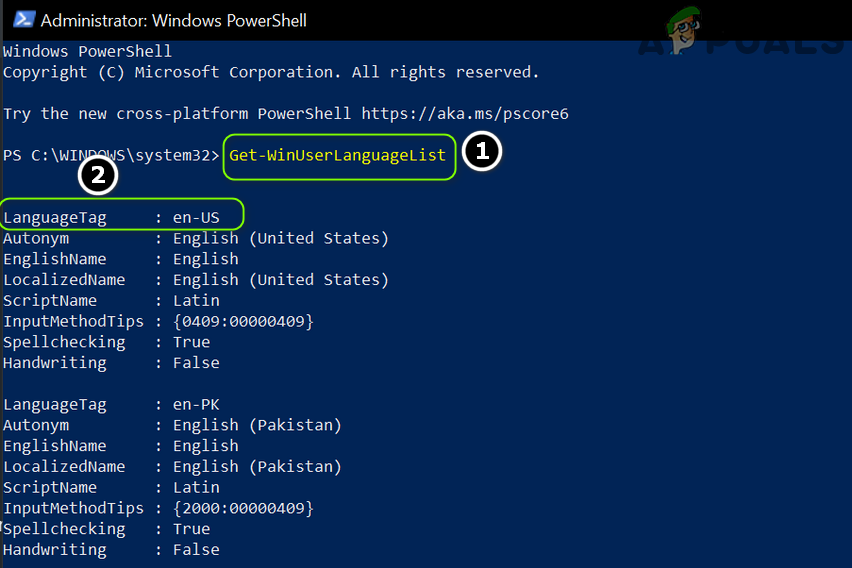
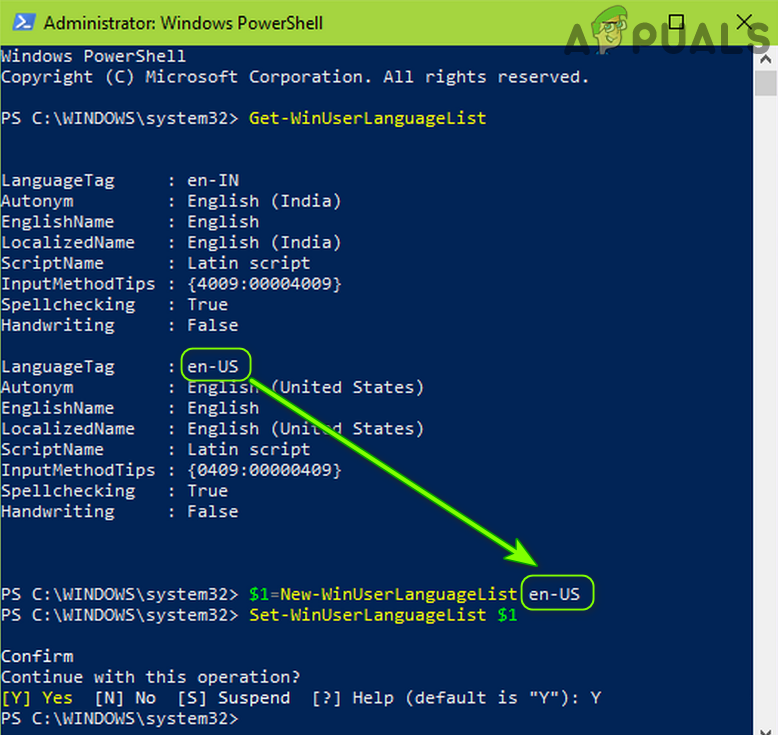
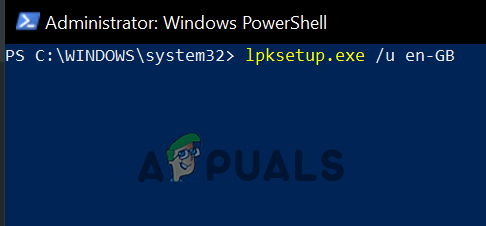
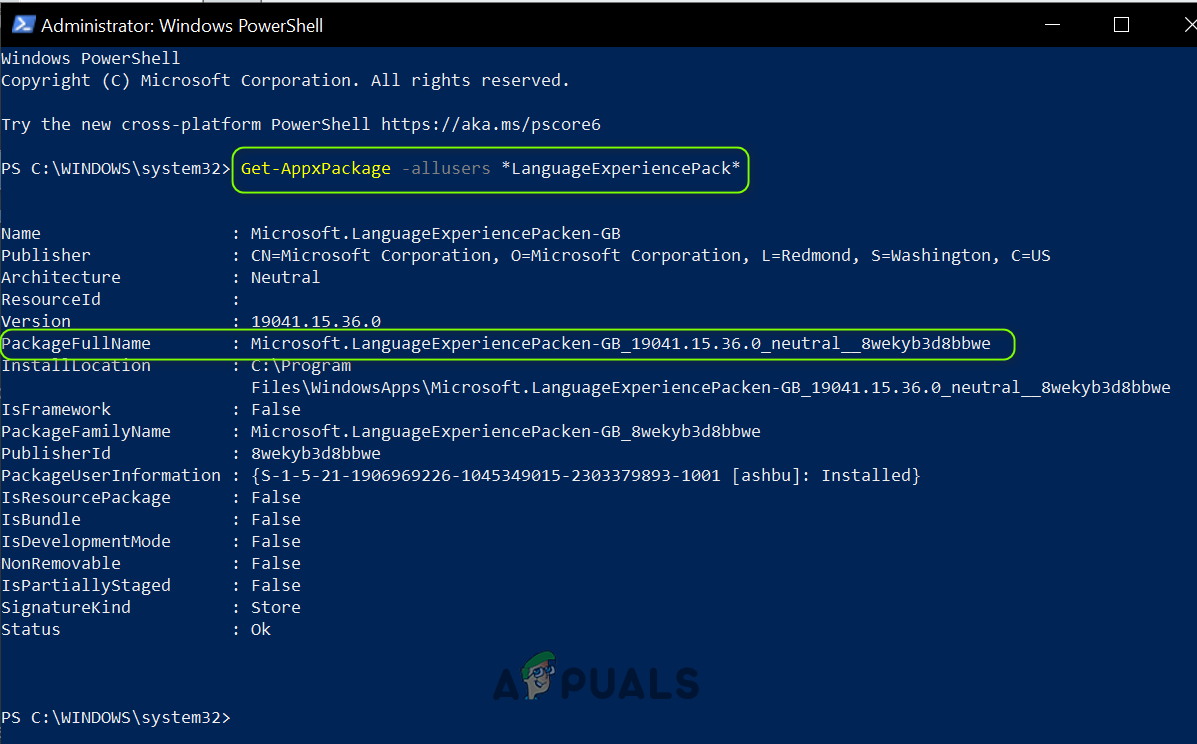
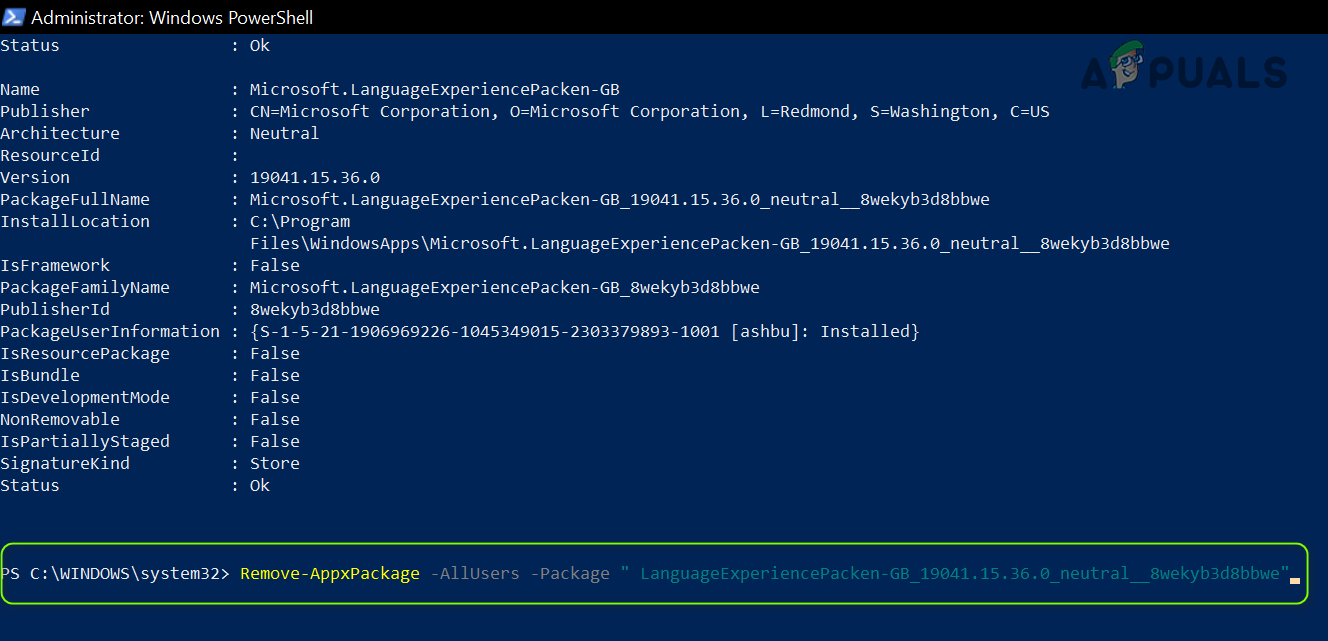
If none of the solutions has done the trick for you, then you may try the following commands to remove the problematic commands. Right-click on the Windows button & in the quick access menu, choose Windows PowerShell (Admin). If a UAC prompt is received, click Yes. Now execute the commands discussed below to check if it removes the problematic language.
Remove the Problematic Language
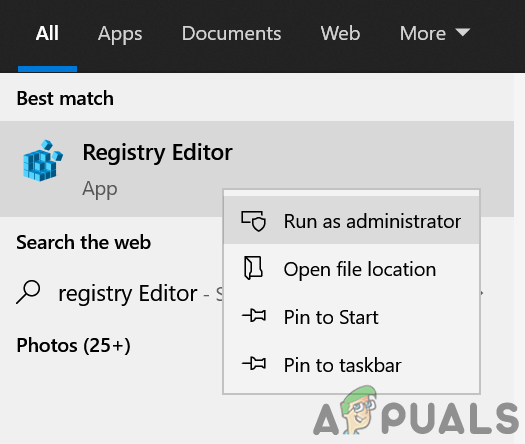
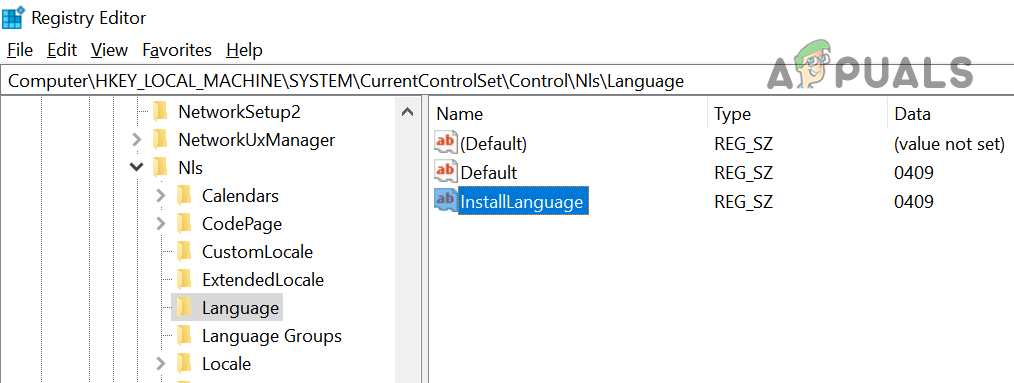
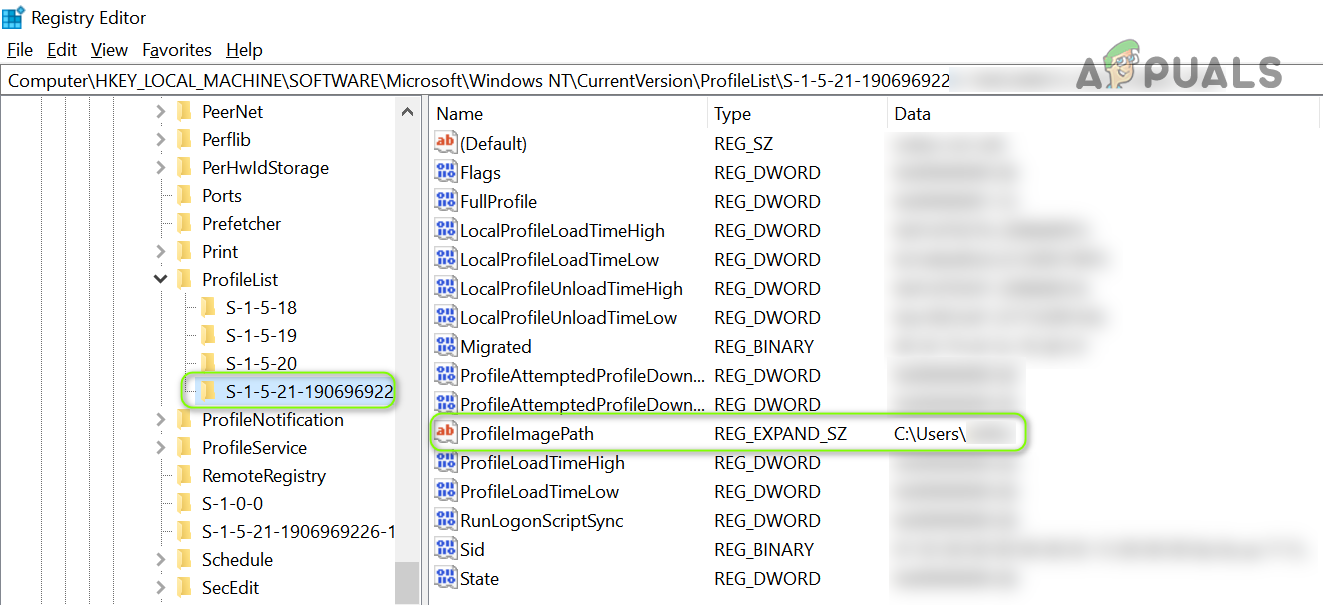
Warning: Advance with extreme caution & at your own risk as editing the system’s registry is a proficient task & if not done properly, your system & data may be at risk. Make sure to back up your system’s registry. Now hit the Windows key & in the search, type: Registry Editor. Then, in the results shown, right-click on Registry Editor, & in the sub-menu, choose Run as Administrator. Then you may attempt the following edits.
Edit the InstallLanguage Key
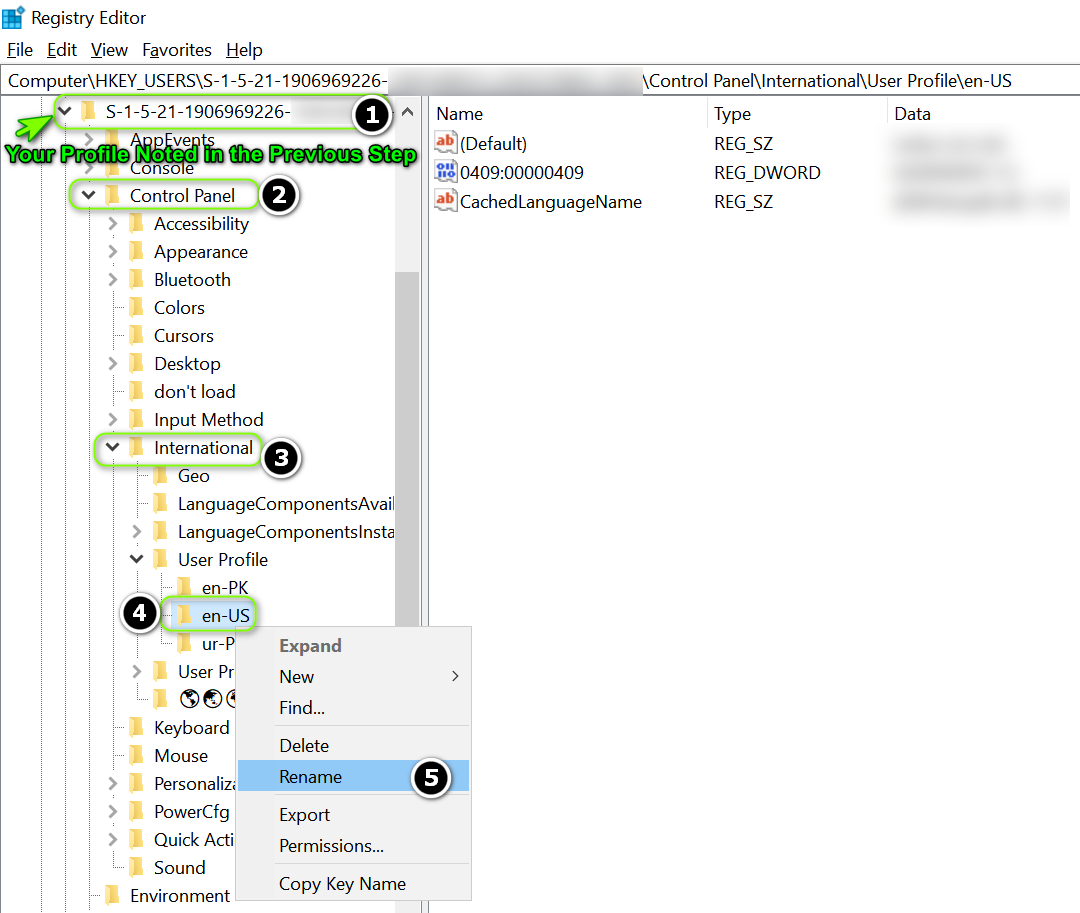
Rename the Language Key in the User Profile
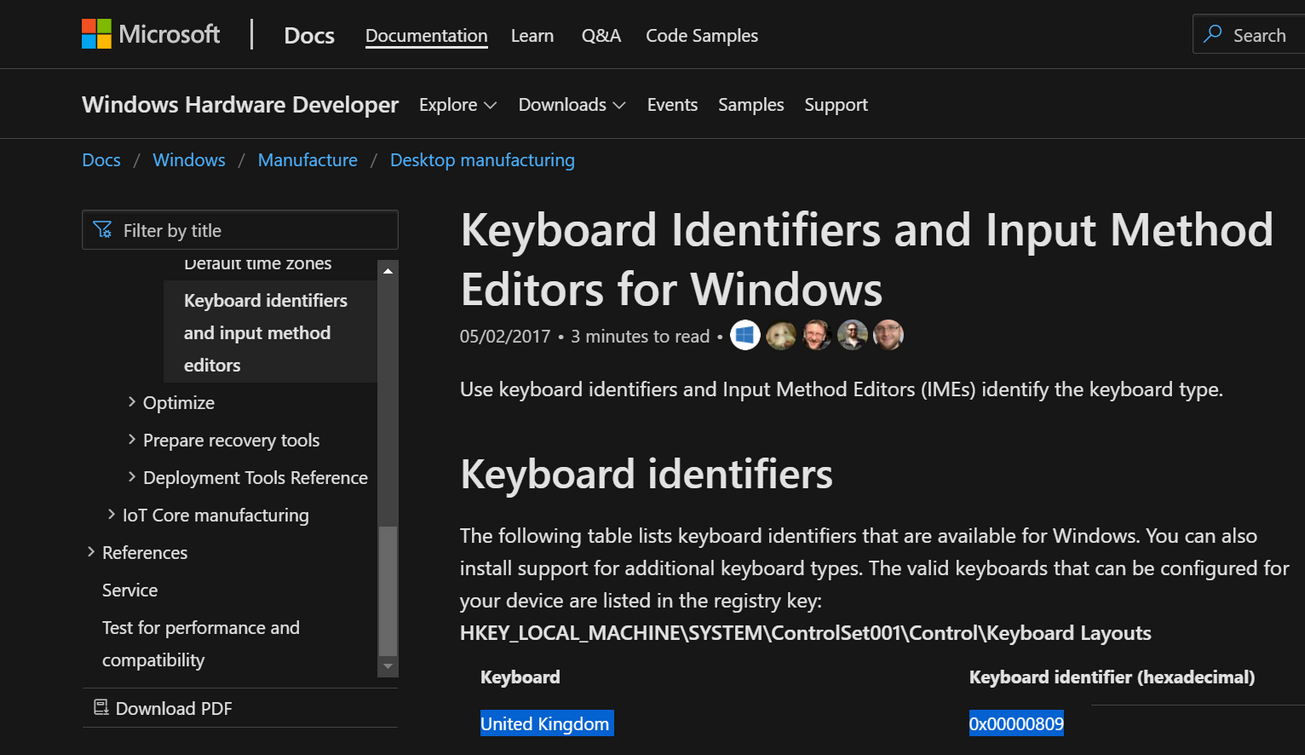
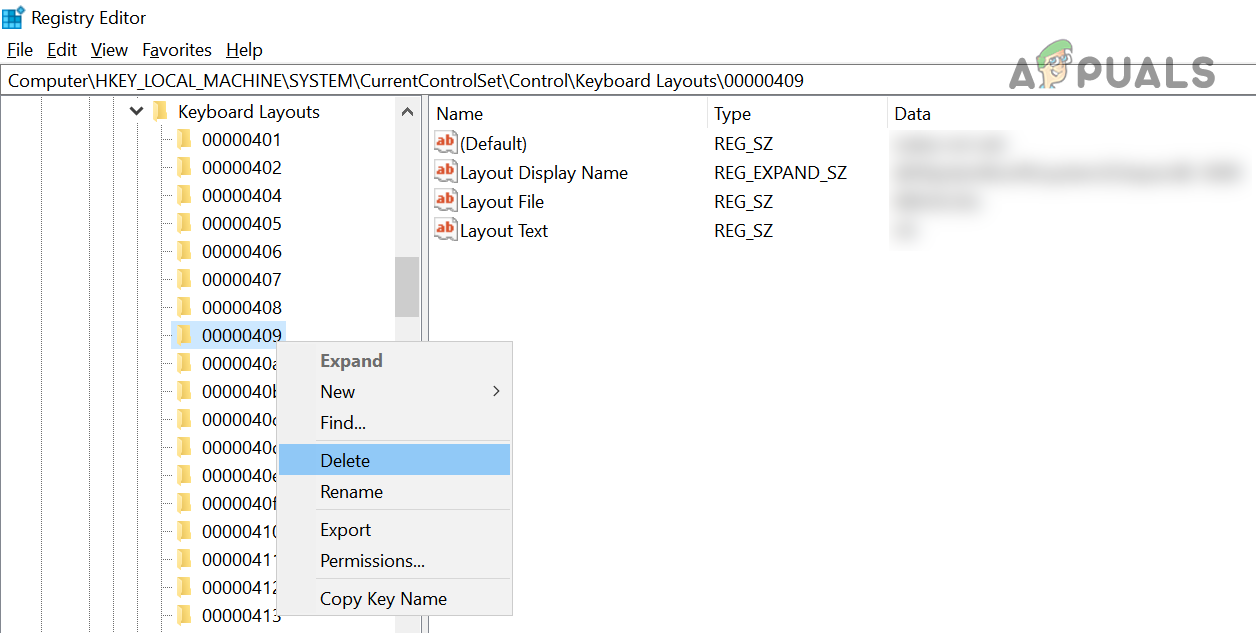
Delete the Keyboard Layout Key
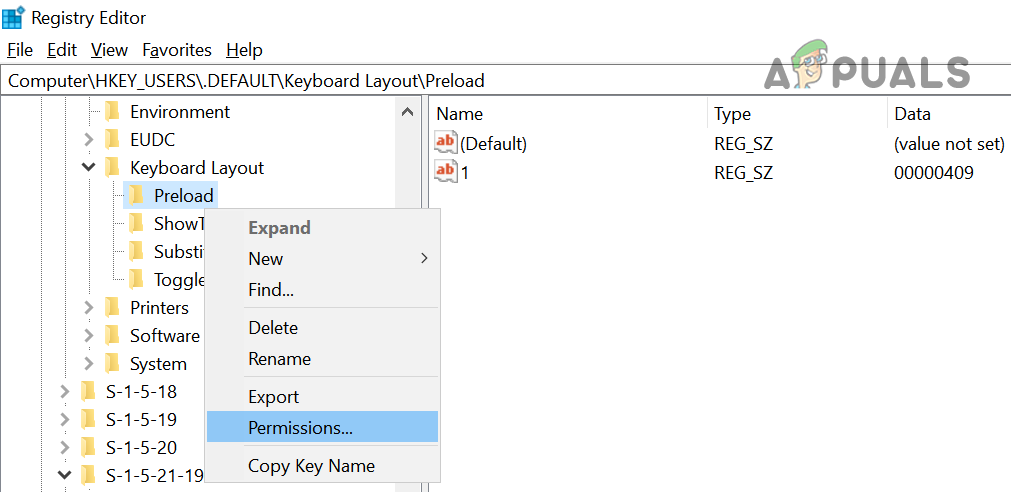
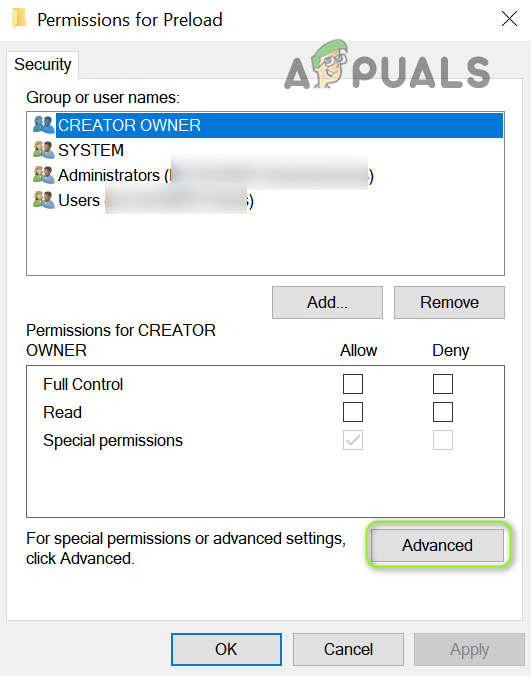
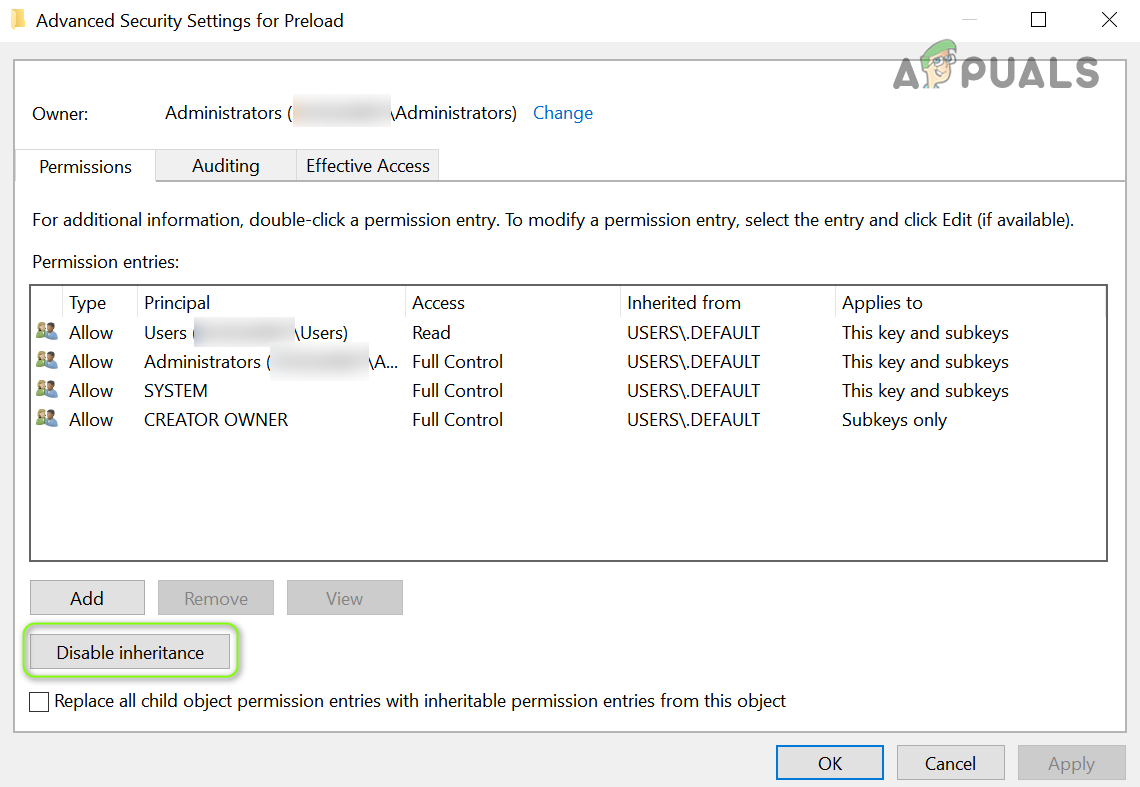
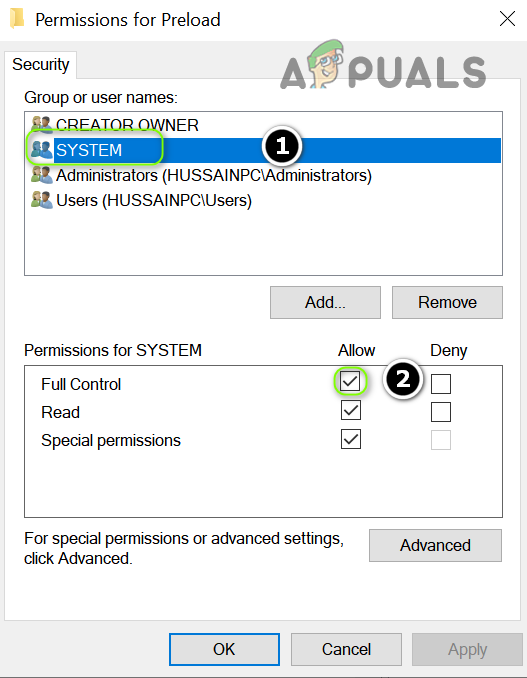
Edit the Preload Registry Keys
If the issue persists, then check if creating a new user account resolves the problem. If the issue is still there, then check if using a 3rd party cleaner utility sorts out the issue.
How to Remove the Unknown Locale (QAA-LATN) LanguageHow to Bring Back the Language Bar on Windows 10How to Change Default and Display Language in Windows 10How to Change the Language of Widgets in Windows 11?
