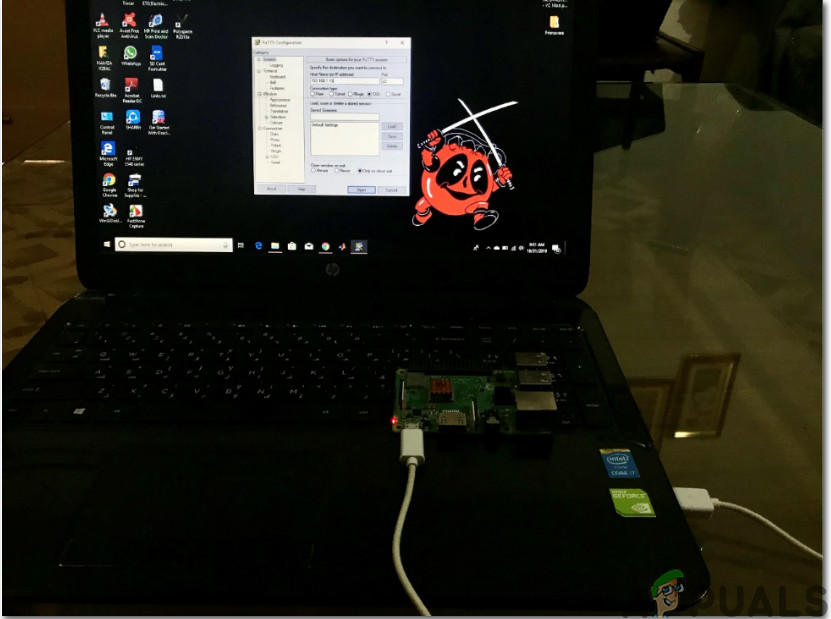
How To Setup Raspberry Pi And Other Hardware Components?
The best approach to start any project is to make a list of components and going through a brief study of these components because no one will want to stick in the middle of a project just because of a missing component.
Step 1: Components Required
Step 2: Selecting the Raspberry Pi Model
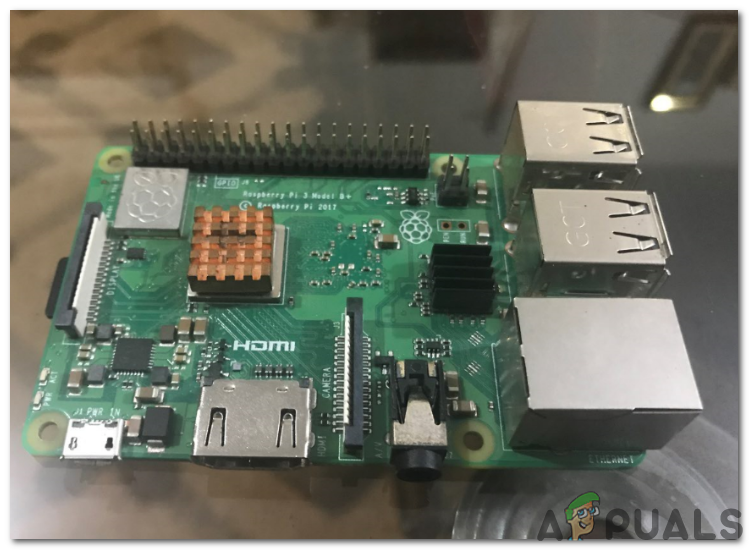
Several models of raspberry pi are available in the market. Except for raspberry pi zero, any model can be preferred. This is because on Pi zero setting up a network is a very tiring job. The latest models like 3A+, 3B+ can be purchased. The Raspberry Pi 4 is the quickest and most dominant gadget the Raspberry Pi Foundation has released to date but the Raspberry Pi team hasn’t shared it’s hardware issues after release. It doesn’t boot well because it’s USB-C port doesn’t provide enough power for booting. So, in this project, we will use the Raspberry Pi 3B+.
Step 3: Installing the SD Card Formatter On Laptop
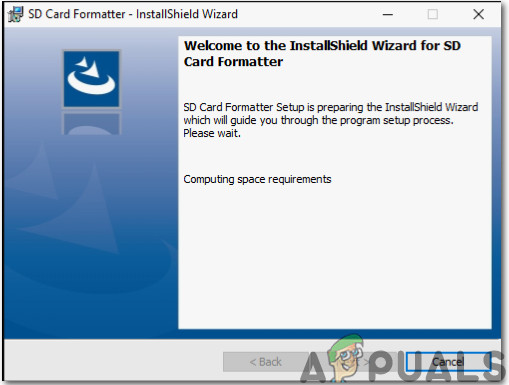
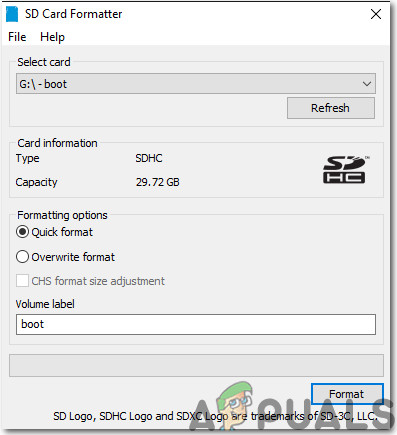
The SD Card formatter needs to be installed on the laptop because we would need this software to format the SD Card before putting the Operating System files into it. It can be downloaded from hereHere. Extract all of the files into a folder and start installing it.
Step 4: Installing the Win32 Disk Imager On Laptop
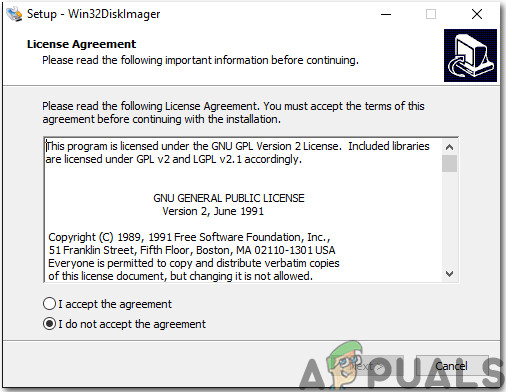
The Win32 Disk Imager needs to be installed on the laptop because we would need this software to Write our Operating System imager file into the SD Card. This software can be easily found out on the internet and it can also be downloaded from Here
Step 5: Installing VNC Viewer On Laptop
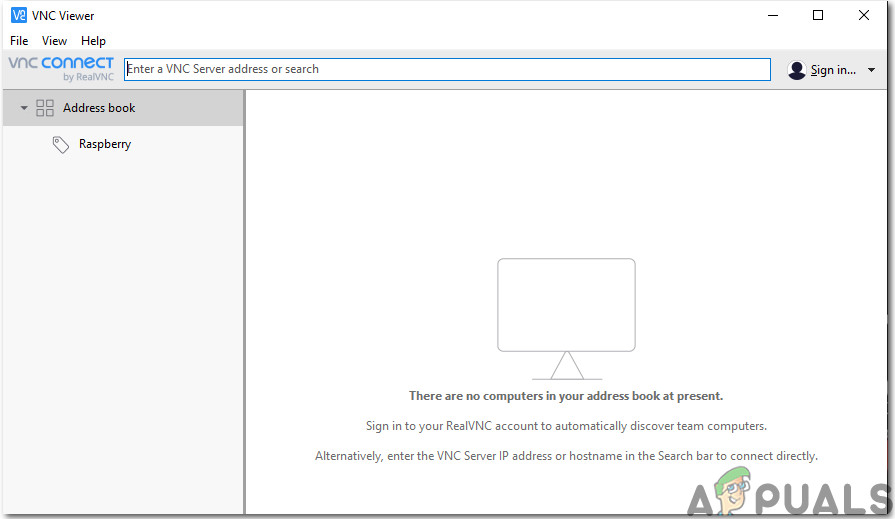
VNC is a graphical desktop sharing framework that enables you to remotely control the desktop interface of one PC (running VNC Server) from another PC or cell phone (running VNC Viewer). There are several types of VNC Viewer for example. TigerVNC, TeamViewer, Real VNC, etc. Our requirement is RealVNC and it is easily available on the internet and can be downloaded from Here. The latest Raspbian comprises VNC Server that enables us to control our Pi remotely and VNC Viewer that allows us to control other systems from Pi. After opening the link mentioned above click on Raspberry Pi icon and then start downloading because we need VNC Viewer for Raspberry Pi.
Step 6: Formatting The SD Card
After installing both software format the SD Card so that the unnecessary files can be removed that were installed initially in the card. As we have formatted the SD card, we are now ready to install the Operating System in it.
Step 7: Downloading The Latest Operating System
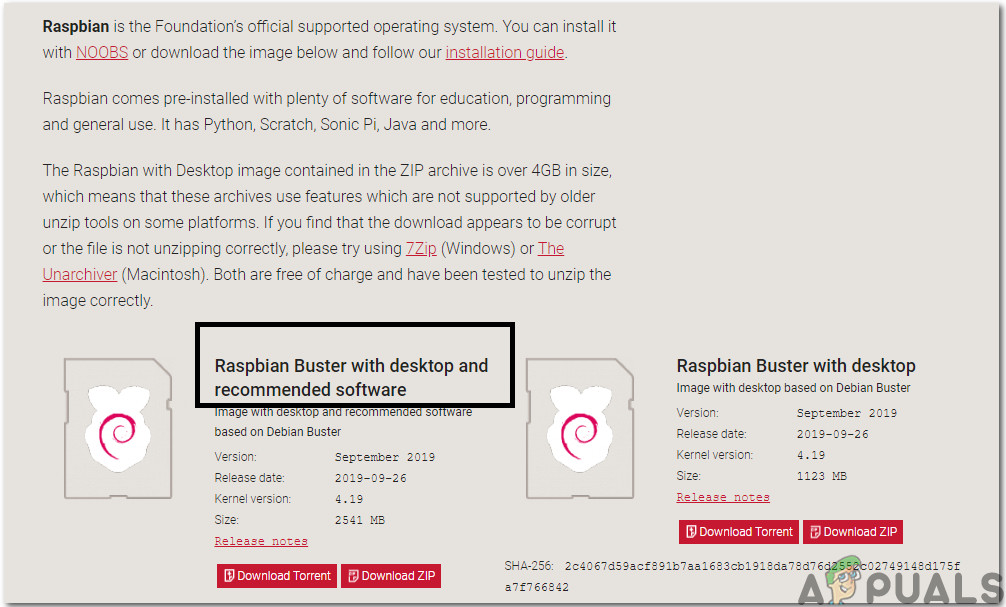
The latest Operating system needs to be downloaded from the official site of the raspberry pi. The latest version of Raspbian is “Raspbian Buster”. It includes the latest programming features for wiring the hardware gadgets like NodeRed etc. An alternate method is also available for installing the Raspbian onto the Pi. Firstly, download the Noobs that is the Operating System Installer and contains the latest Raspbian but it is a time taking process hence we would directly download the “Raspbian Buster With Desktop And Recommended Software” for our Raspberry Pi. Raspbian can be downloaded from Here
Step 8: Writing The Operating System Onto The SD Card
As we have downloaded the Operating System for our Raspberry Pi we are ready to write the img file onto SD Card. After selecting the img file click on the write icon and wait until the whole img file is written to the SD Card. Before clicking on the Write button select the MD5 option from the dropdown arrow in Hash.
Step 9: Configuring Wifi On Pi
After writing the Operating System on SD Card unplug the SD Card from the Card Reader. Connect the Keyboard and the Mouse with the Raspberry Pi. Connect the one side of HDMI cable with the television and the other side with the Raspberry Pi. Power the Pi using the adapter and wait until the Raspberry Pi is booted. After booting, set up the password of Wifi by clicking the Wifi icon on the top right corner of Raspbian. An IP Address would be assigned to the Raspberry Pi and in my case, the IP Address was: “192.168.1.15“. Note this IP address because it will be needed in further configurations. The Ethernet cable can also be used to share the laptop’s wifi connection with the Raspberry Pi but we have to change some Internet settings. It is a bit tough task hence connecting Pi through Wifi is recommended. Note: Each individual will be assigned a different IP address depending upon the Wifi router. We can also find the assigned IP by navigating to the Lx Terminal/command window and typing the following command:
Step 10: Enabling SSH Client And VNC On Raspberry Pi
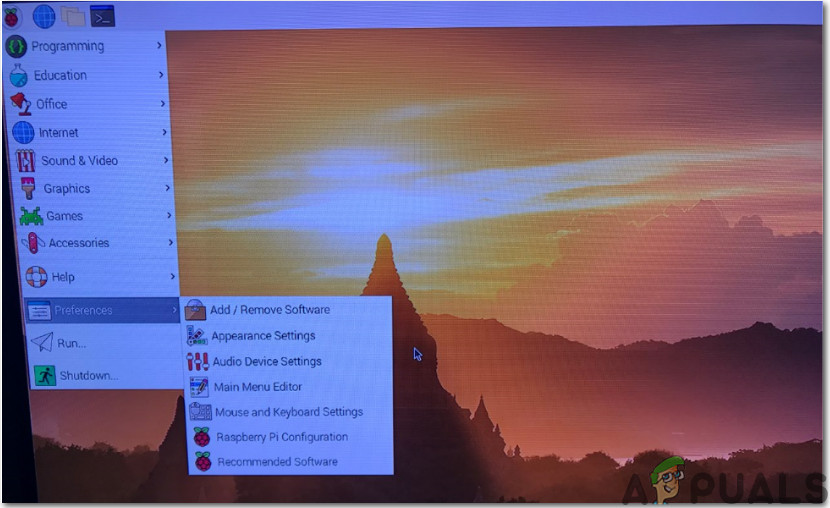
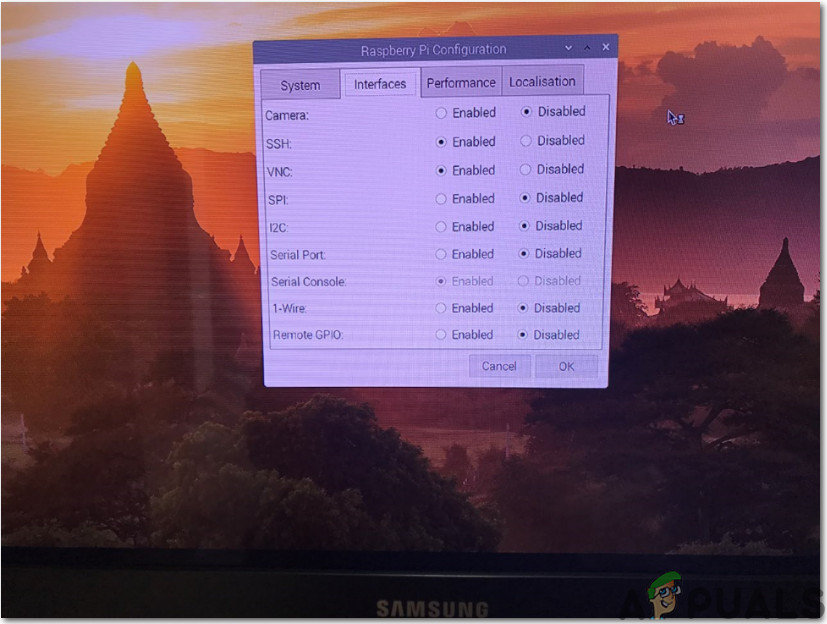
For accessing the Raspberry Pi remotely SSH needs to be enabled. It is a remote login protocol that used Port 22 by default. In the older version of Raspbian, the ssh was enabled by default but after the November 2016 release of Raspbian, the ssh server was disabled by default and it needs to be enabled manually. After finding out the IP Address of Pi click on the Raspberry icon on the top left corner. Navigate to Preferences and from there select Raspberry Pi Configuration and finally click on Interfaces. From the list of buttons, you have to click on two Enable buttons only. The first one is SSH and the second one VNC.
Step 11: Alternate Way Of Enabling SSH Client On Windows
There is an alternative to enable the SSH client too. After you have written the Raspbian onto the SD Card open the SD card, right-click anywhere and create a new text file. After creating the txt file you would see that it is named “New Text Document.txt”. Remove all of this and instead of this write “ssh”. After creating this file remove the SD Card and plug it into the Raspberry Pi. Now, the ssh would be automatically enabled.
Step 12: Installing Putty On Laptop
PuTTY is an extremely flexible tool used for remote access to another PC. It works as an SSH client and it is famous for its strong firewall and versatility. We will install Putty on our laptop because it supports SSH protocol. SSH via PuTTY offers an easy way to securely access a Raspberry Pi from a Windows system. Putty for windows can be found easily from the internet and it can also be downloaded from Here
Step 13: Logging Into Raspberry Pi Through Putty
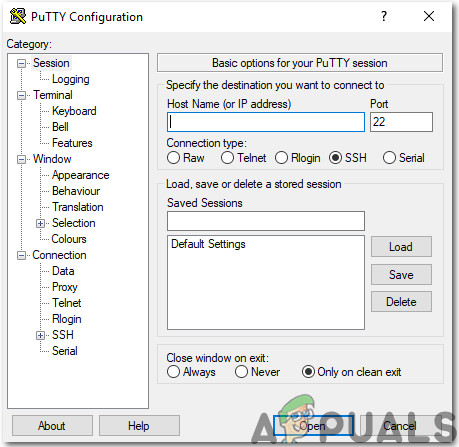
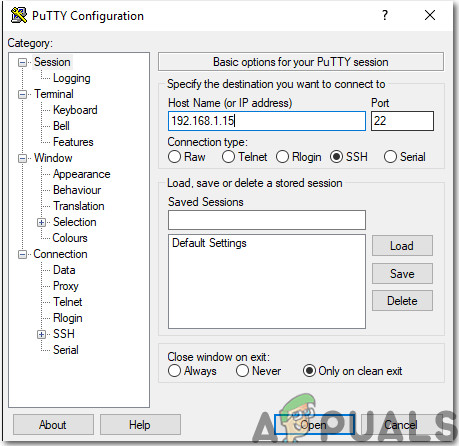
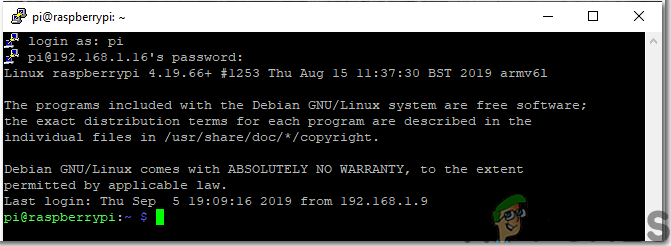
Enter the IP Address that was assigned to our Raspberry Pi by the Wifi router. In my case the IP address assigned was “192.168.1.15”. After entering the IP address the screen will appear and it will ask for username and password. The default username is “pi” and password is “raspberry“. We can change login details too if we want.
Step 14: Checking For VNC Viewer Version
Run the following commands to make sure that we have the latest version of VNC Viewer.
Step 15: Connecting Pi With VNC Viewer
Open the VNC Viewer and enter the IP address that was entered previously in Putty. In my case, the IP address that would be used is “192.168.1.15”. After entering the IP Address the server would ask for username and password. The default username is “pi” and the password is “raspberry”. Click on the OK button. After logging in we have gained the remote access to our Pi and now we are able to use our Pi. Now, we can make several interesting projects like home automation, airplay servers, etc using our Pi.
Your Guide To Using SSHHow to Install Ubuntu Without a GUICreate SSH key pair in Microsoft Azure and add it to Ubuntu ServerFix: SSH Error ‘could not resolve hostname server’
