Windows come with several built-in troubleshooters which should help you get rid of your problems automatically but they are sometimes simply not good enough to help you deal with your problem. Look below to find out what to do when your PC fails to repair itself.
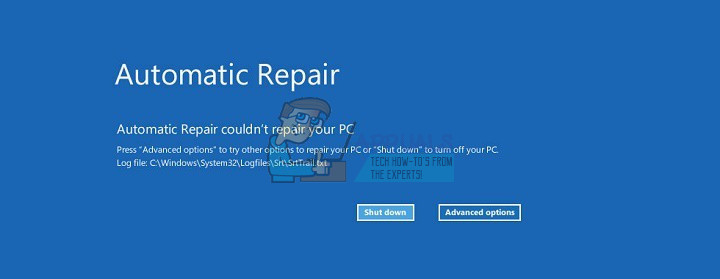
“Automatic Repair couldn’t repair your PC” Error on Windows 10
Automatic Repair is a built-in troubleshooter which should help you fix some of the most common issues regarding your PC. However, plenty of users have reported how they receive the “Automatic Repair couldn’t repair your PC” message after running in order to fix some of their issues.
This is somewhat unfortunate especially because of the fact that the majority of Windows users can’t think of another way to fix similar issues and they try to rely on automatic troubleshooters such as this one. Luckily, this problem has its solution so check below to find out more.
Solution 1: Troubleshooting With Command Prompt
Since Automatic Repair is a tool that usually deals with startup issues, it might be used to deal with your boot in order to fix this particular issue. There are several quite useful commands which might help you get rid of this error message and possibly even eliminate the option of fixing your PC at all.
Solution 2: Troubleshooting in Safe Mode
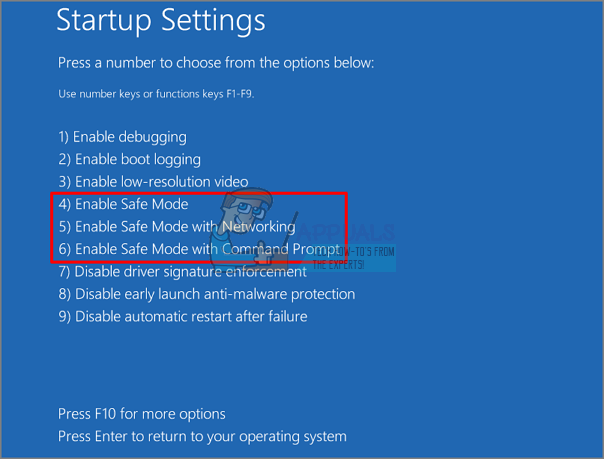
There are still a couple of quite useful commands in Command Prompt which you should try but it’s the best if you use these commands while in Safe Mode because the error message we are dealing with is sometimes caused by a faulty driver or a system file which might not show up if we did the scan in normal boot.
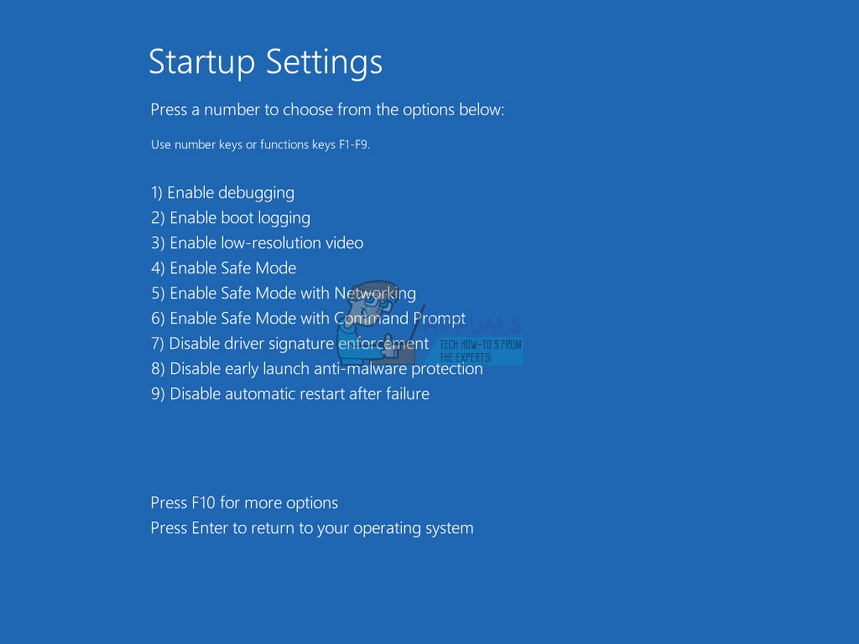
Solution 3: Disabling Early Launch Anti-Malware Protection
This solution is a fairly easy one but this bugged many users before they disabled this option. Please follow the instructions below in order to fix this.
Solution 4: Delete the File Which Is Causing These Issues
It’s quite possible than one of the files on your computer simply malfunctioned and now it’s causing problems with your PC which the Automatic Repair can’t deal with. If the file at hand is not a system file, you can locate it and delete it easily. “Boot critical file ___________ is corrupt.”
Solution 5: Disable Automatic Startup Repair
The Automatic Repair feature might have been turned on for no reason and it’s not allowing you to use your computer properly. It may have something to do with a faulty Automatic Startup Repair tool so it’s for the best to disable it from starting automatically.
Solution 6: Fixing Your Registry Issues
Registry issues are always difficult to handle, especially when they are causing error messages like this one. Windows Registry is a fragile place and changing anything without supervision can lead to irreversible changes to your computer. Luckily, you can restore your registry to a previous state by using a copy of the registry Windows generates itself.
Solution 7: Fixing Your Automatic Repair Tool
If there is indeed something wrong with your Automatic Repair Tool, you might be able to fix this issue by using a Windows 10 ISO file which you can use to boot into Recovery mode and start Automatic Repair from there.
Solution 8: Hardware Issues
If you recently installed or added any new hardware to your computer, it may be causing system instability and error messages such as the one related to Automatic Repair. On the other hand, even your old devices such as hard drive, RAM, etc, may be causing these issues. Let’ start diagnosing just what might be causing these problems.
Solution 9: System Refresh or Reset
Unfortunately, it has come to this. If all of the methods above failed to fix the issue you were dealing with, your last resort may be to refresh your Windows 10 installation or to perform a complete reset of your system. Windows 10 has made things way simpler for you since now you can perform a refresh of your system without losing your personal files.
Fix: Automatic Repair Your PC did not Start CorrectlyPairing Failed: Your Apple Watch Couldn’t Pair with Your iPhone [FIX]How to Fix “Preparing Automatic Repair” Error on Windows?Fix: Windows Couldn’t Remove your Computer from the Homegroup
