Don’t fret, because you can probably repair the login screen with a bare minimum of playing around. You might want to plug an Ethernet cord into your machine if applicable and plug in the charger if it’s a laptop because this can be the safest option when doing package management.
Repairing the Standard ubuntu-desktop Metapackage
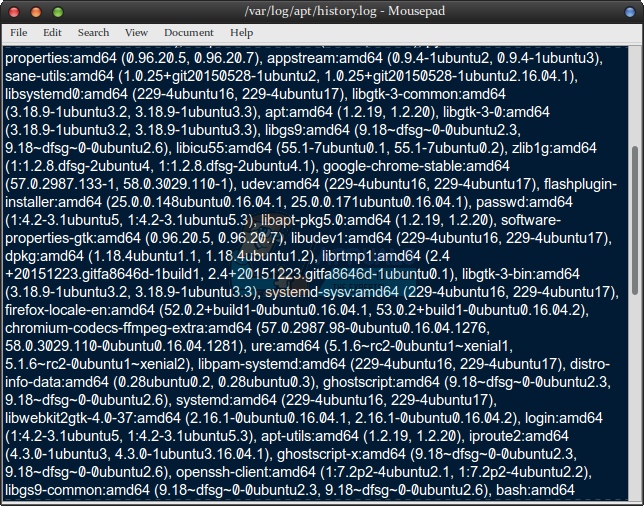
Assuming you’re at a simple blank screen after starting, hold down the Ctrl, Alt and F1 keys together at the same time. You’ll see a text login screen with your current Ubuntu version number and the name you gave your computer when you installed Ubuntu. Type your username, push the enter key, type your password and then push the enter key again. You’ll receive a message about package updates and then get your standard prompt. You only need to restore packages you’ve removed from the basic desktop, so you can type the following command and then push enter to do so: Note the caret after the package name, which tells apt-get just to look for things you’ve removed from the default ubuntu-desktop package and restore them. You might get asked to push y for reinstallation, which you should do. This will only take a brief moment. This is it for users of regular Ubuntu but if you were using one of Ubuntu’s spins, then you’ll need to replace one single letter in that command. LXDE users will want to type: Xubuntu users will want to type: Likewise sudo apt-get install kubuntu-desktop^ works for those running KDE Plasma through Kubuntu and sudo apt-get install ubuntu-mate-core^ will work for those using Ubuntu-MATE. In any of these cases, you just need the one single command and then wait. Once you’re back at the prompt just type reboot, push the enter key and watch the system restart itself. You should get back to your Ubuntu desktop with no other issues. If you got a warning about being unable to connect to the Canonical Ubuntu servers when trying this, then try nmcli nm wifi on before trying sudo apt-get install ubuntu-desktop^ or whatever metapackage name again. You shouldn’t experience any other issues and should then just be able to reboot like normal. Now having reinstalled the packages everything should be working, but if you manually removed some packages included with your Ubuntu distribution then this will add those back too. You can check the contents of the /var/log/apt/history.log file to see any changes that apt-get made if you want to remove some different packages later. Hold down the Windows or Super key and push R then issue the command gedit /var/log/apt/history.log, leafpad /var/log/apt/history.log or mousepad /var/log/apt/history.log depending on which desktop environment you’re using.
Scroll through and you’ll see all recent changes, including ones you might have made from an update. If you’d prefer to do this at the command line with no graphical tool, then just type vi /var/log/apt/history.log or nano /var/log/apt/history.log at the prompt to get the same effect. You’ve then fixed in the login screen problem with only two or three commands and can use your machine like normal again.
Ubuntu 18.04 LTS Bionic Beaver Officially Available for Ubuntu, Kubuntu,…Fix: Unable to Correct Problems ‘You have Held Broken Packages’Ubuntu 16.04.5 LTS Released on Heels of Ubuntu 18.04 LTS, Bundles All Past…How to: Create an Ubuntu Bootable USB on Mac, Windows or Ubuntu
