As it turns out, there are several underlying causes that might be triggering this particular error code. Here’s a list of potential culprits that might be triggering the Windows Update error 0X80070012: Now that you are aware of every potential culprit that might be triggering this error code, here’s a couple of verified methods that other affected users have successfully used to resolve the 0X80070012 error code:
Method 1: Running the Windows Update Troubleshooter
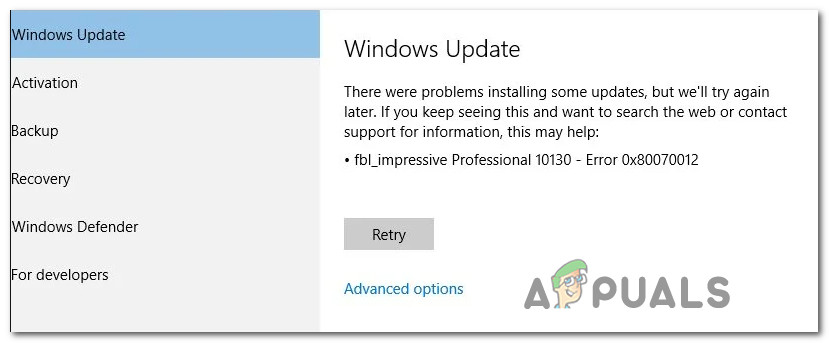
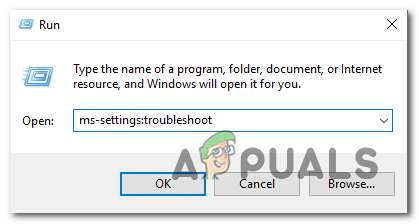
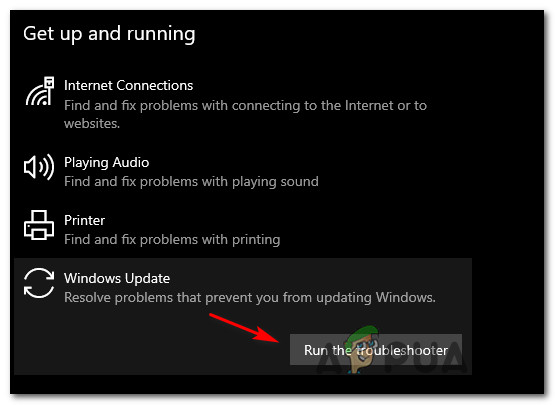
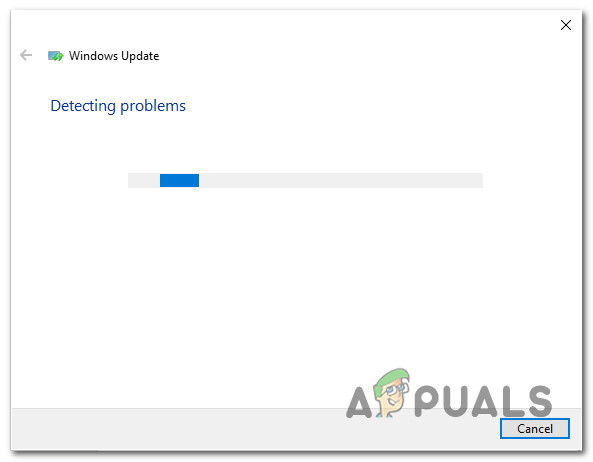
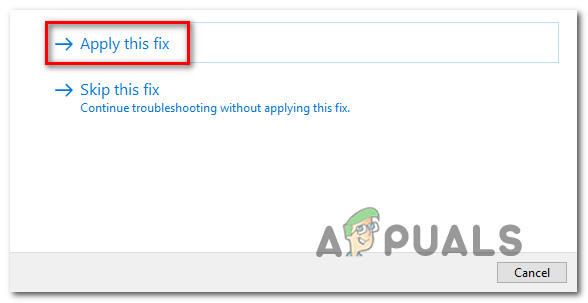
Before you go into more advanced repair strategies capable of resolving the 0X80070012, you should start by verifying if your OS installation is capable of resolving the issue automatically. Keep in mind that Windows 10 includes a lot of built-in repair strategies capable of resolving the majority of failures to install a pending Windows 10 update. Several users that we’re facing this exact issue have managed to resolve the problem and install the pending update by running the Windows Update troubleshooter and applying the recommended fix. Note: The Windows Update Troubleshooter contains dozens of repair strategies that will be applied automatically if some type of inconsistency is found. If the scan finds a viable repair strategy, the utility will automatically recommend a viable fix that you can apply with a simple click. Follow the instructions below to deploy the Windows Update troubleshooter to resolve the 0X80070012 error code on Windows 10: If the 0X80070012 is still occurring when you attempt to install the pending update or the Windows Update troubleshooter didn’t find a viable repair strategy, move down to the next potential fix below.
Method 2: Resetting every Windows Update Component
If the Windows Update troubleshooter was not able to resolve the 0X80070012 error, you’re likely dealing with a persisting bug that is affecting the Windows Update component. In this case, you should go ahead and deploy the same repair strategies in order to reset every Windows Update component that might be causing issues with your pending Windows updates. Note: The most common instance that will cause this kind of issue is one or more WU (Windows Update) components that are currently stuck in a limbo state (they’re neither open nor closed). If this scenario is applicable, you will be able to fix the problem by resetting all WU components that are involved in the updating process. Here are two different methods that you can follow in order to reset all Windows Update components:
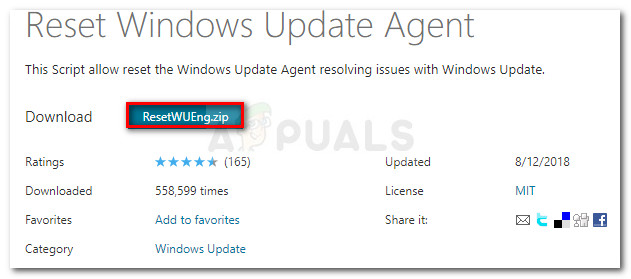
A. Resetting WU via the WU Agent
B. Resetting WU via elevated CMD
If the same 0X80070012 error is still occurring even after you have successfully refreshed every Windows Update component, move down to the next potential fix below.
Method 3: Running SFC and DISM scans
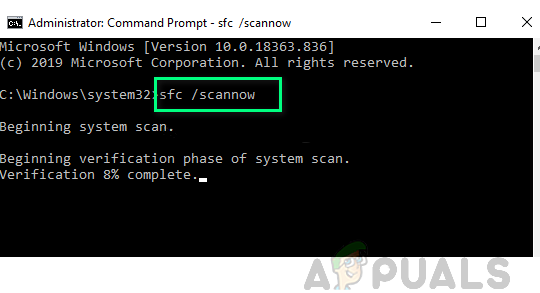
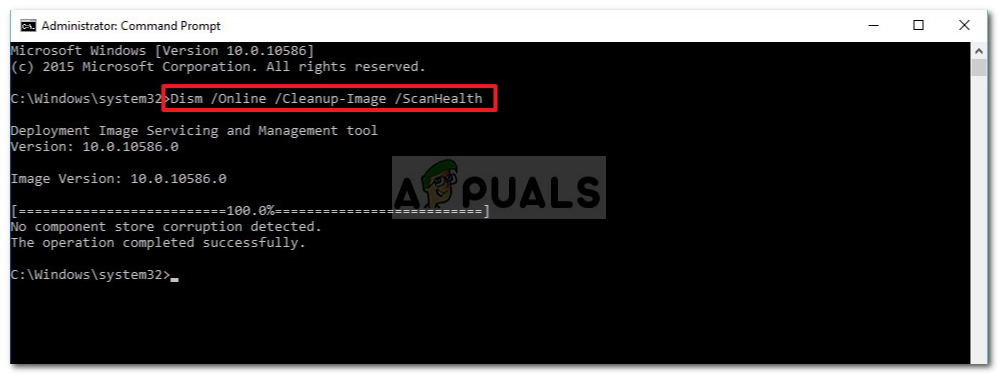
If refreshing every Windows Update component didn’t fix the issue, you should also consider that some kind of system file corruption is causing the 0X80070012 error when attempting to install a pending Windows Update. If this scenario is applicable to your current situation, you should start by running a couple of scans with two built-in utilities – System File Checker (SFC) and Deployment Image Servicing and Management(DISM). Note: SFC and DISM share some similarities, but our recommendation is to run both scans in quick succession in order to improve your chance of fixing the corrupted system files. Start with a simple SFC scan. Note: This tool is entirely local and will not require you to be actively connected to the internet. Important: Once you initiate this procedure, it’s very important to not close the CMD window even if the utility looks like it froze. Wait patiently until the process is complete (interrupting the operation might cause logical errors on your HDD/SSD) Once the SFC scan is completed successfully, reboot your computer and see if the issue is fixed once the next computer startup is complete. After you, deploy a DISM scan and follow the on-screen prompts to complete the operation. Note: DISM uses a sub-component of Windows Update to download healthy equivalents to replace corrupted system files. Due to this, you need to make sure that you have reliable Internet before initiating this operation. Once the DISM scan has been completed successfully, restart your computer once again and see if the 0X80070012 error is now fixed. In case you’re still dealing with the same issue, move down to the next potential fix below.
Method 4: Performing a Repair Install
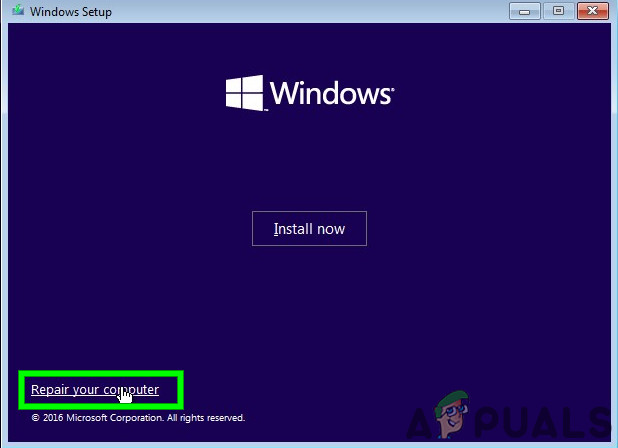
In case none of the methods above have proven to be effective in your case, the last resort should be to take some steps to fix an underlying corruption issue. In this case, you should be able to resolve the issue by performing a repair install. A few affected users have reported that this method ended up helping them install every pending update that was previously failing with the 0X80070012 error code. This procedure is superior to a clean install because it will only refresh Windows components and booting-related processes and allow you to keep all personal data including photos, applications, games, videos, and any other type of personal files. Follow these step-by-step instructions on deploying a repair install procedure on your Windows installation.
Fix: Windows Update Error “We Couldn’t Connect to the Update Service”[SOLVED] One of the Update Services is not Running Properly in Windows UpdateLast Free Update For Windows 7 Released, KB4534310 And KB45343140 Are The Final…How to Update the Windows Update Agent to the Latest Version