But with the latest Chrome OS 67 update, ADB is now officially supported from developer mode on Chromebooks with an x86_64 chip. Its an incredibly easy process with a simple script that does the bulk of the work for you – the only drawback is that you need to power-wash (completely wipe / factory reset) your Chromebook, so create backups of all your important data before proceeding.
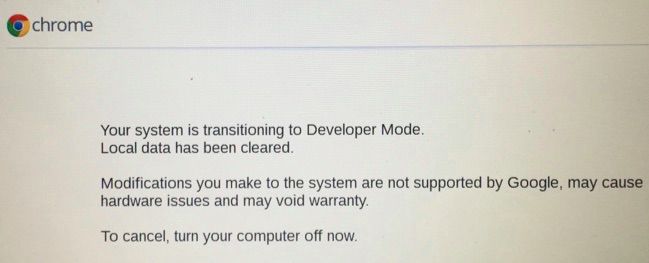
Start by making sure your Chromebook is running an x86_64 chipset. You need to hit CTRL + ALT + T to launch a crosh terminal, and type uname -m. If the crosh terminal displays x86_64, you can proceed. Now we need to put your Chromebook into developer mode – be warned that this will make your Chomebook less secure, as developer mode disables a few security features like verified boot, and enables the root shell by default. This is also going to perform a data wipe / factory reset on your Chromebook, so make backups before proceeding! You’ve been warned! To enable developer mode, you need to go to the list of Chromium OS devices page on Chromium.org, and find your specific Chromebook device in the list. Click on your Chromebook’s specific model name and it will bring you to a general instructional wiki specifically for your device – as the method for enabling developer mode is pretty much unique across Chromebook devices, we can’t give a one-for-all step-by-step tutorial here for this process.
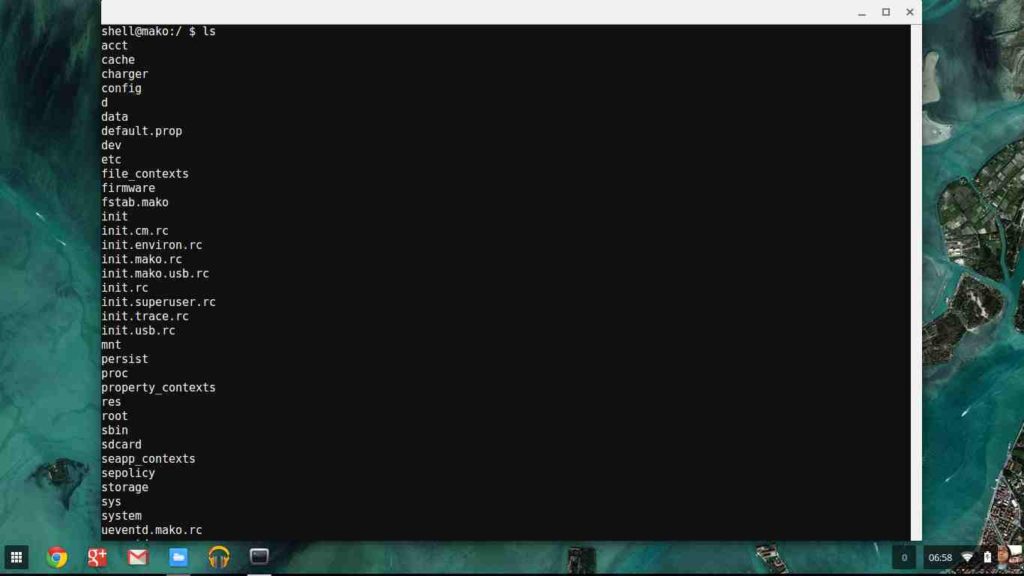
After developer mode has been enabled on your Chromebook, we can now proceed to download and run the script for getting ADB & Fastboot tools setup. But first we should take a look at crosh, the Chrome OS shell terminal. Remember that you press CTRL + ALT + T to open it. By default, crosh is in sandbox mode, so you need to elevate your privileges to access the deeper commands. So, launch a crosh terminal, and type shell. At this point you should create a sudo password, which will give you back some security we sacrificed in enabling developer mode. To do this type: After you do this, sudo commands will require password input from now on. We’re now ready to download the scripts, which is done through the terminal. The scripts we’ll be running will do two things specifically that save you a lot of time in the long run: The script will download the appropriate binaries and automatically move them to the correct location (usr/local/bin). The script will then download and install the ADB & Fastboot wrapper, which saves you the time of typing commands when you want to run ADB. To begin the script download and install process, type the following commands into your crosh terminal: Alternatively, if you want to avoid piping from curl to bash, you can use this other command: For the last command, you need to inspect it with more or vim, then run: Now to verify everything went successfully – in the crosh terminal, type: This should display that those were installed to /usr/local/bin – if you have a problem, try rebooting your Chromebook. This goes the same if you don’t get an ADB notification on your Android device when connecting to your Chromebook’s USB ports – try rebooting both your Chromebook and your Android device together.
How to Remove Bloatware from Android without Rooting via ADB5 Methods to Unpair Apple Watch [Without or Without iPhone]How to Install adb on Windows 7, 8 and 10How to Fix Error “Unable to Locate ADB” on Android Studio?

