Fans develop new content for the Mugen franchise all the time, and there is plenty of free material to have. While Mugen isn’t exactly open source, you can in theory download it freely if you’re not trying to slipstream it through an installation or something like that. While some people use the WINE application layer in order to run Mugen, the native application will run under most distributions. License complications get in the way for some users, however.
Configuring Mugen to Work Natively on Linux
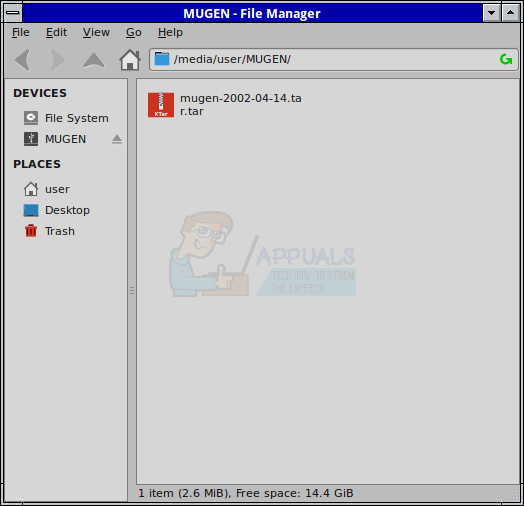
You will need to aquire a package that’s name mugen-2002-04-14.tar.tar, which looks unusual in it’s naming.
Make sure that you’re in a proper location for the extraction, and then right click on the package to extract it in the current location. An ext2 USB stick could be used for an experiment before moving it to an Xfce or other desktop.
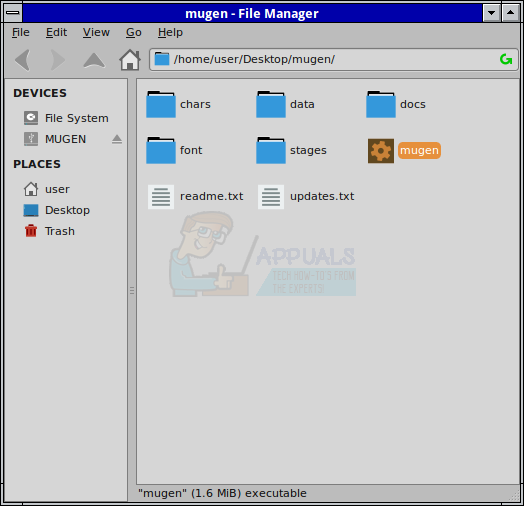
A directory simply called mugen will appear, which you can then enter. Once inside you’ll find an executable, which you can double click or start from the CLI prompt. You may have to agree to execute it if you’re running Unity.
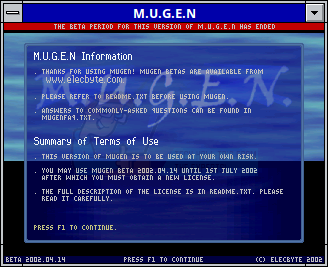
Once the Mugen program starts, it will offer an information screen. It shares this with you along with a warning, which will tell you that the beta period has ended. Sadly, there’s no updated Linux binary, which means you’ll simply have to push F1 to continue. These license terms are related to why this binary is not distributed as a part of Linux distribution repositories. Use of it in the modern era is technically outside of its license terms, and therefore completely unsupported as the public beta has ended. Please keep this in mind as you are agreeing to these license terms as soon as you push F1. Some users of GNU/Linux understandably prefer to keep their installations pure of closed-source code.
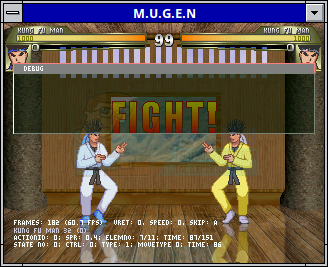
At the menu screen, you can use either the period or question mark keys to select options. The exact key to use might differ based on your keyboard layout. Once you start a fight from the menu, a debug window might pop up. Hold CTRL and push D to clear this off.
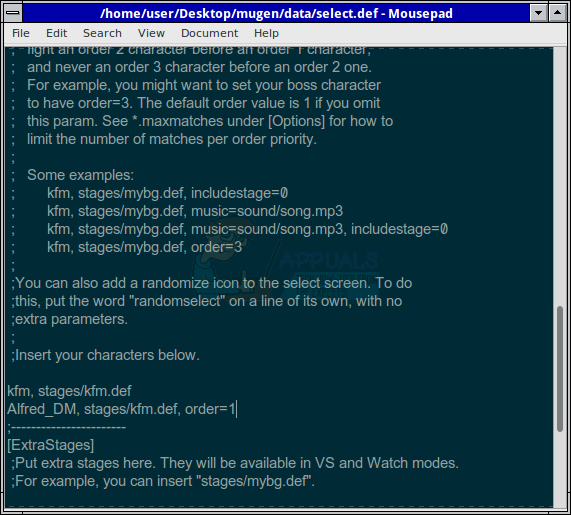
Now assume you want to add some extra characters. In the mugen/data directory there’s a file called select.def, which you should open and then scroll down to where it reads “Insert your characters below.” Once there, add the name of any new character directories that you put in the chars directory. Add the exact name of the directory followed by a comma followed by a stage name followed by an order name. Assuming it’s your first new character called Alfred_DM with no new stages, then add: Alfred_DM, stages/kfm.def, order=1 Save the file when you’re done and open up Mugen again to make sure the new character works.
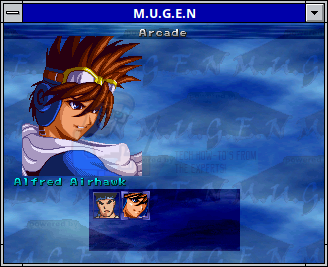
Head to the character select screen and make sure that they appear.
Start a new fight with the new character to ensure they work. Once you’re ready to add a stage, extract all files from the compressed stage directory you download to the mugen/stages directory. Head back to the select.def file and then find a section with [Extra Stages] as a heading inside of brackets. Add the name of the stage file after this section. Assuming you have a basic stage file, then add: stages/stage0.def After stages/kfm.def The kfm.def file is the default stage. In order to select the stage, head over to training mode. If you’ve added other characters by this point, then they’ll appear as well. Select your new stage, which should be called Stage 2 if you’ve made no other edits.
Start the fight and you should be duking it out in your new stage.
You can repeat this as many times as you want, increasing the slotting numbers for stages and characters as needed.
Street Fighter V Outpaces Previous Titles Becoming the Best Selling Fighter GameJim Ryan Confirms “PlayStation 5 won’t natively support PS3, PS2, and PS1 games"Microsoft is Integrating Windows 365 Natively into Windows 11 With 4 New…How to Load Local Flash Objects Under a Linux Desktop Environment
