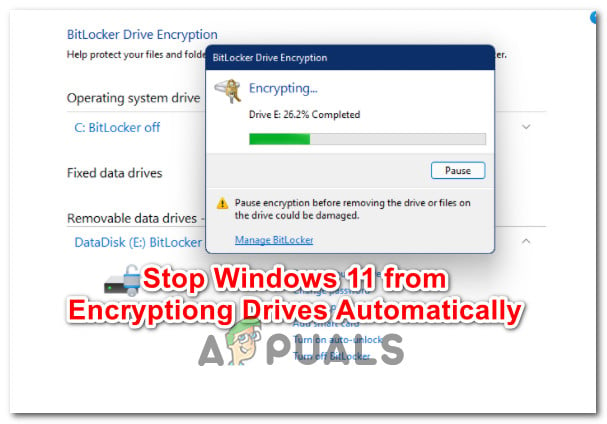
Although there’s no official confirmation from Microsoft, there’s a lot of user speculation that this automatic drive encryption carried over by BitLocker occurs automatically on some OEM machines once Secure Boot is enabled. Note: This only occurs with Pro, Education, and Enterprise versions of Windows 11 – as Bitlocker is not present with Windows 11 home. This seems to be different from one OEM to another – in some cases, this is triggered by a PS script, in others, it’s triggered by a Group Policy. But regardless of the underlying cause, there are ways to stop Windows 11 from encrypting your OS drive automatically. There are actually 3 different ways that will allow you to go about disabling the automatic driver encryption feature on Windows 11: Each of these methods will basically allow you to achieve the same thing (disabling the BitLocker encryption), but the excitation is slightly different. Feel free to follow whichever method you feel more comfortable with from the options below.
Disable BitLocker Encryption via ControlPanel
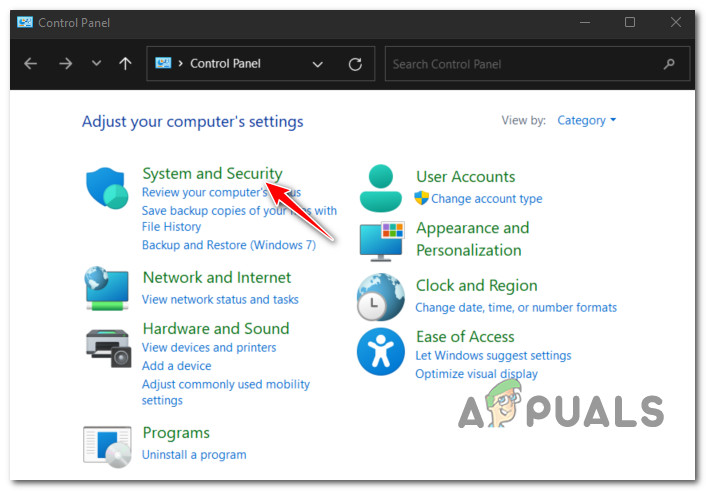
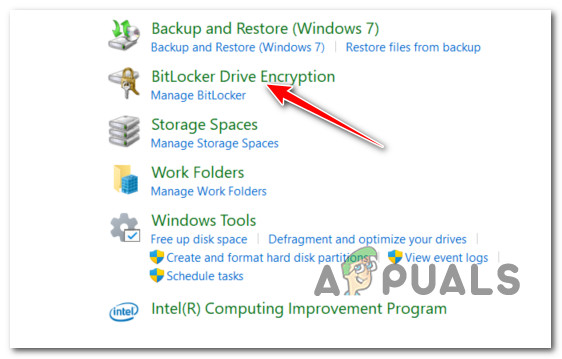
If you’re looking for the easiest option out of the bunch, this is it. You can use the classic Control Panel interface to access the System and Security tab and disable the encryption from the BitLocker Drive Encryption menu. This method is very easy to enforce, but keep in mind that depending on your OEM, you might notice that the encryption feature will re-enable if you disable and re-enable the secure boot option in your BIOS or UEFI settings. Follow the instructions below to disable the automated BitLocker Encryption via Control Panel:
Disable BitLocker Encryption via Windows Terminal
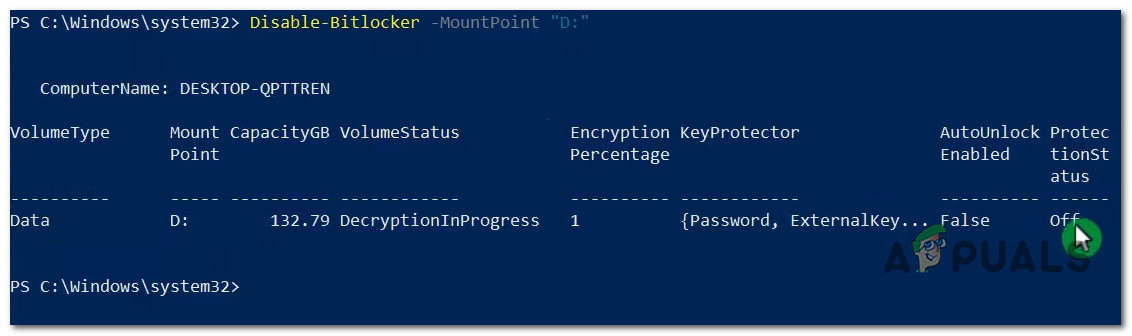
Another way that will allow you to disable the BitLocker encryption and ensure that your drive won’t get re-encrypted in the future is to use an elevated Windows Terminal window to run a series of Powershell commands that will decrypt the current OS drive and disable automatic encryption. Note: You’ll need an administrative account in order to be able to perform this method. Follow the instructions below to use the Windows Terminal to disable the automated BitLocker encryption on Windows 11:
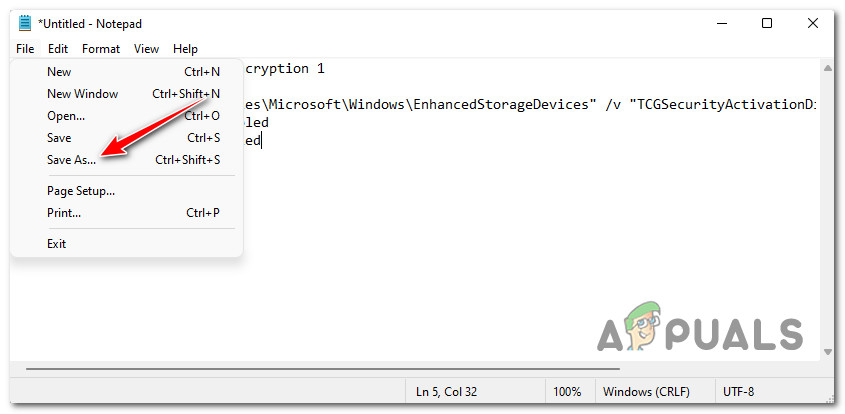
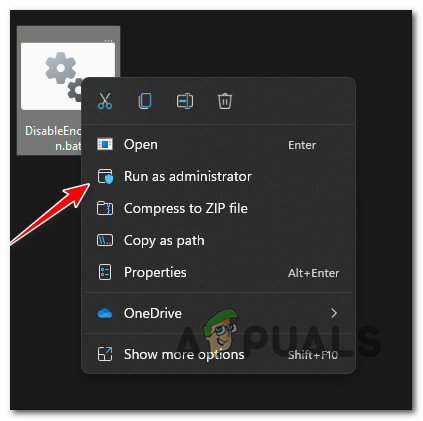
Disable BitLocker Encryption via .BAT File
The third way (and the most technical one) of disabling the BitLocker encryption and ensure that it doesn’t automatically re-encrypt your drive at a later point in time is to create and run a .BAT file that will auto-disable the BitLocker encryption. This will also disable every associated dependency that might force the encryption feature to re-enable at a later point in time. If you aren’t afraid of using .BAT files that you’ve created yourself, this is arguably the best option of dealing with this issue and ensuring that the change is permanent:
How to Encrypt files and folders in Windows 10 using Encrypting File System…What is: Encrypting File System ’efs’How to Stop Skype from Running Automatically at Startup on WindowsHow to Stop Windows from Automatically Installing Outdated Drivers