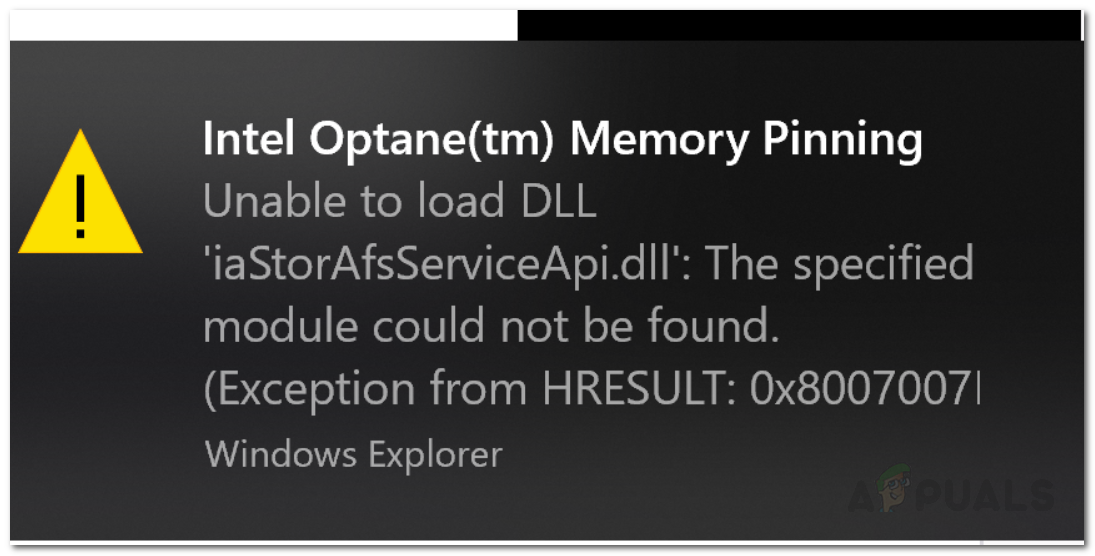
The problem seems to occur because the Intel Optane Memory application was installed on the systems which cause the issue when the necessary caching drivers are not installed on your system by the manufacturer. Thus, when the Intel Optane Memory Pinning pops up, there are only a handful of solutions that you can implement. But before we get into that, let us first discuss the cause of the said error message.
What is Intel Optane Memory?
Intel Optane Memory was first introduced by Intel in 2017 alongside the seventh generation for their various Core-series processors. According to Intel, the Optane Memory is a new step in the memory field as it is a smart technology that learns about the most frequent applications that you use. Intel Optane Memory remembers these applications and stores them even when the system is powered off. This, ultimately, helps in quick access to data.
What causes the ‘Intel Optane Memory Pinning’ Error Message?
As we have mentioned above, the error started emerging after a Windows feature update i.e v1903. The update installed the latest Intel drivers on the systems that had an Intel Optane Pinning Service Extension alongside it. The Intel Optane Memory application installed on your system is the cause of the said error message as various systems do not have the required caching drivers on their machines that are supported by Intel Optane Memory. Thus, to solve the issue, you will have to try out the following solutions where you will be guided on uninstalling the Intel Optane Memory application or install an update for the Intel Rapid Storage Technology drivers.
Solution 1: Uninstalling the Intel Optane Memory Application
The first step to solving the error would remove the problematic application that was installed on your system during a Windows update. This can be done pretty easily. Here’s how to do it: Alternatively, you can search for the application in the Programs and Features tab of the Control Panel. There, look for ‘Intel Optane Memory and Storage Management‘ or any Intel Optane software and uninstall it by double-clicking on it.
Solution 2: Install the latest Intel Rapid Storage Technology Drivers
Lastly, another thing that you can do is to download and install the latest Intel Rapid Storage Technology drivers on your system and see if that fixes your issue. To do this, head to this link and download the SetupRST.exe file on the left-hand side. Once you have downloaded the file, run it and follow the prompted instructions to complete the installation. After that, restart your system and see if your issue has been resolved.
Intel Optane vs AMD StoreMi – What is the Difference?Microsoft PowerToys Adds Always-on-Top Window Functionality, Finally Offering A…How to Stop Apps from Pinning Themselves to Taskbar on Windows 10?How to Prevent Users from Pinning Programs to the Taskbar?

